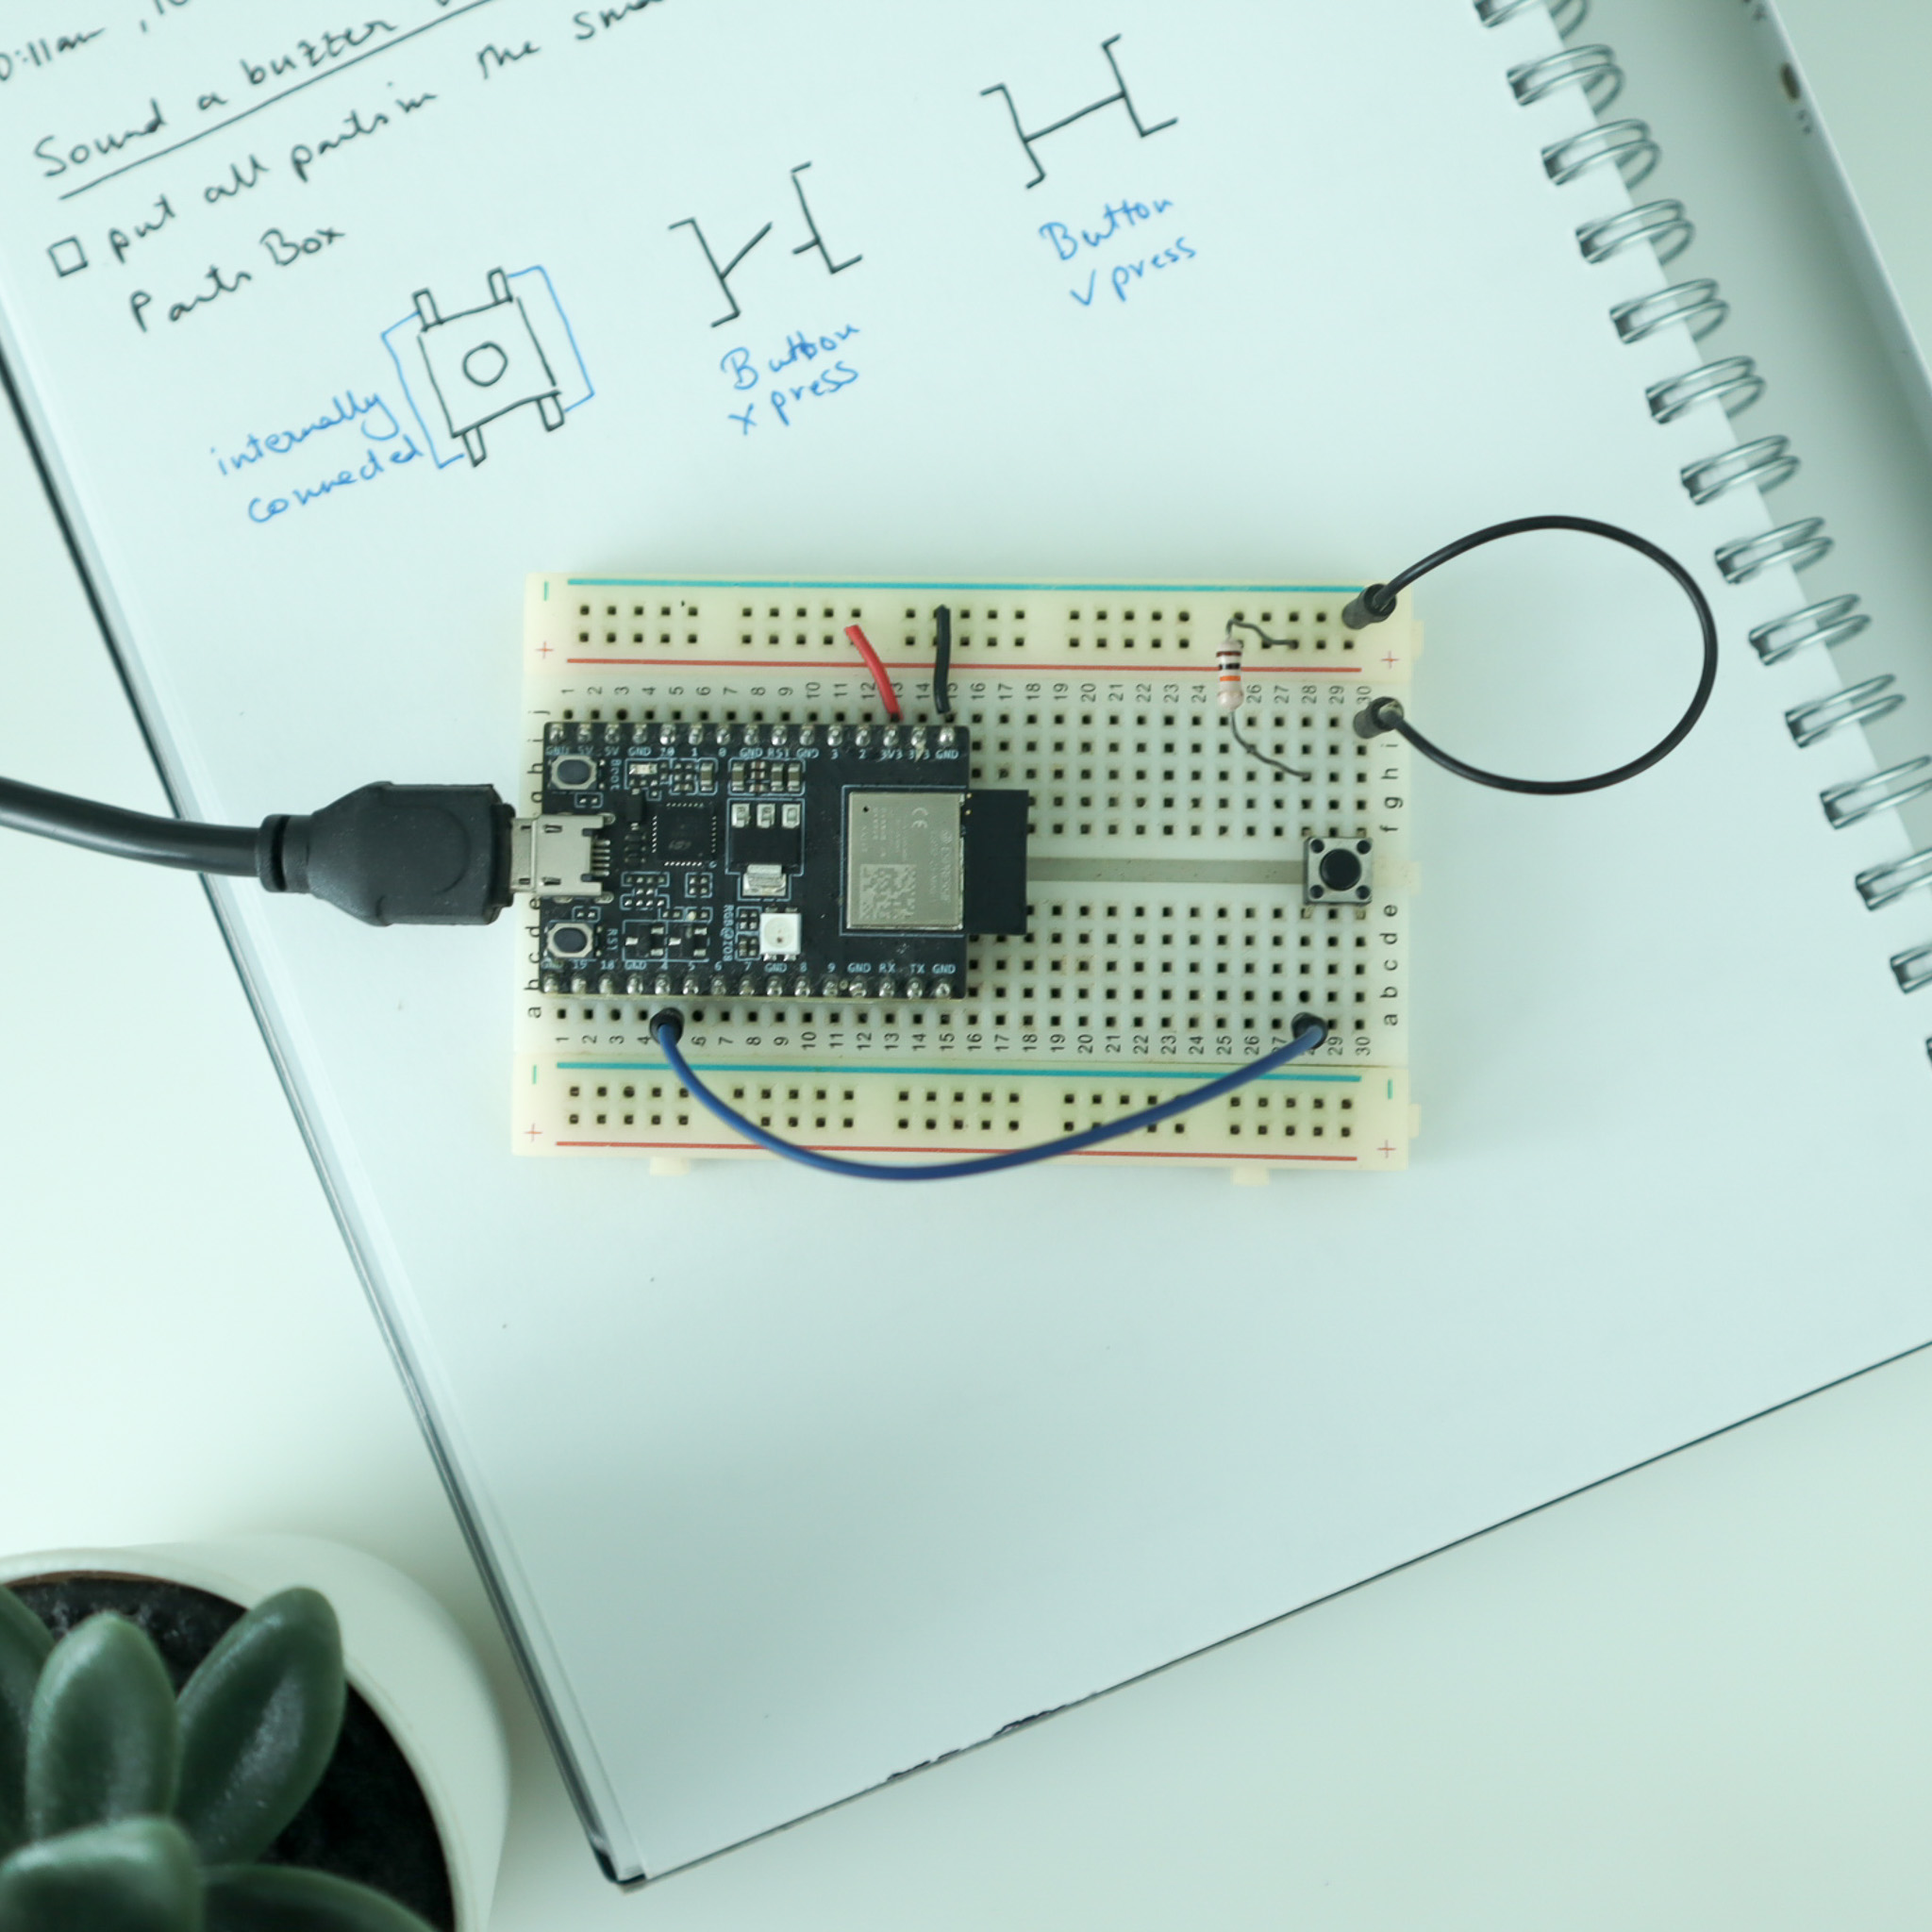
Prototype
A photo of the actual setup.
Schematic
Wire up the hardware accordingly

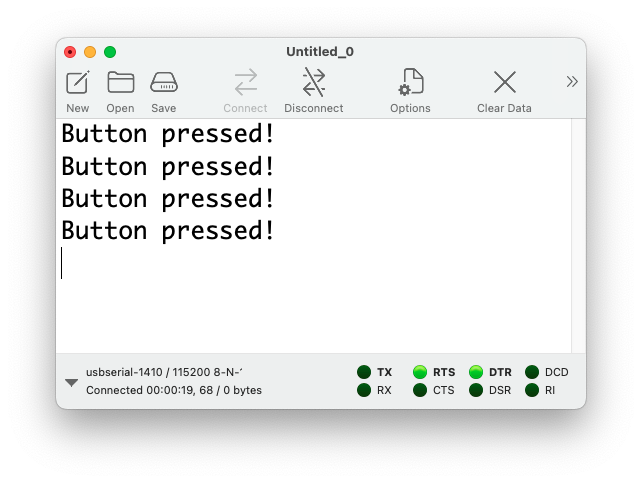
Serial console
Serial output from the firmware.
Dependancies
Pre-requisites
Buy the components
push-button-arduino-esp32c3.ino
const int buttonPin = 4;  // Define the pin connected to the button
bool buttonState = 0;  // Variable to store the button state

void setup() {
  // Set the button pin as input with pull-up
  pinMode(buttonPin, INPUT_PULLUP);
  Serial.begin(115200);
}

void loop() {
  buttonState = digitalRead(buttonPin);
  if (buttonState == LOW) {
    Serial.println("Button pressed!");
    delay(1000);
  }
}BOARD?=esp32:esp32:esp32c3
PORT?=/dev/cu.usbserial-*
BUILD=build
.PHONY: default lint compile upload clean
default: lint compile upload clean
lint:
cpplint --extensions=ino --filter=-legal/copyright *.ino
compile:
arduino-cli compile --fqbn $(BOARD) --output-dir $(BUILD) ./
upload:
arduino-cli upload --fqbn $(BOARD) --port $(PORT) --input-dir $(BUILD)
clean:
rm -r buildA photo of the actual setup.
Wire up the hardware accordingly
Serial output from the firmware.
Press the button and see the serial console as Button pressed!.
Compile and upload the firmware via the Arduino IDE or arduino-cli with Makefile.