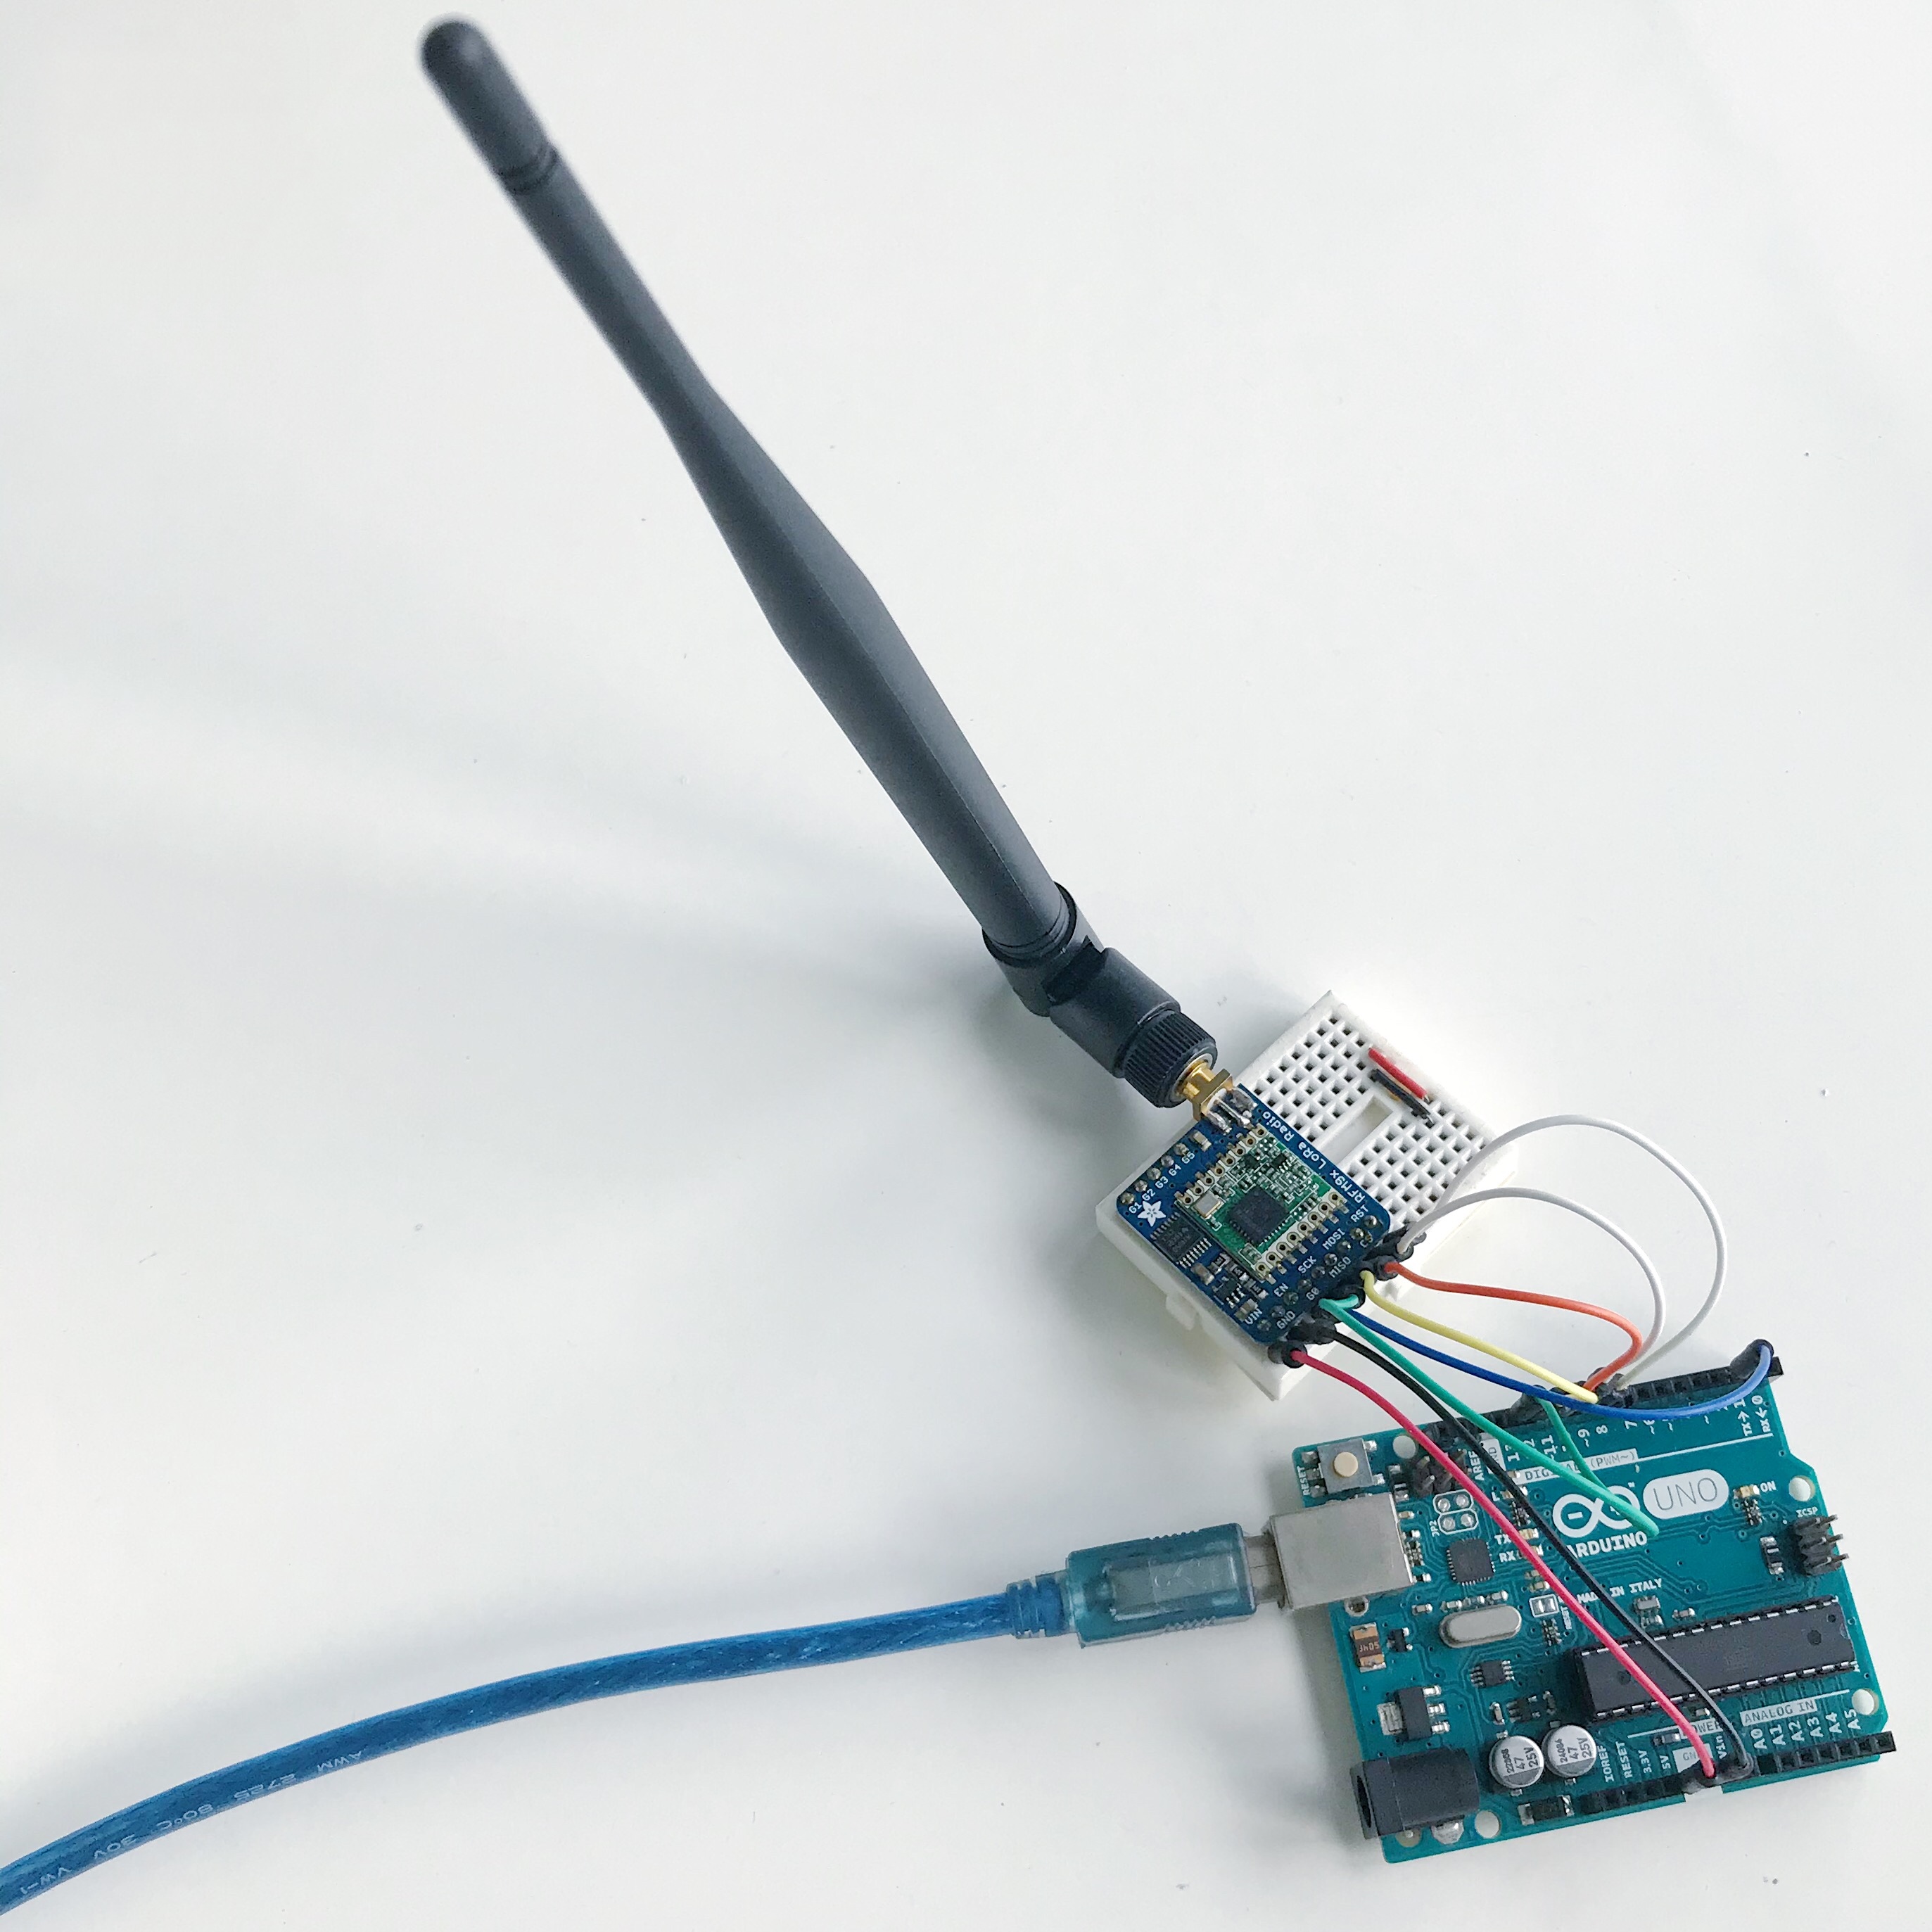
Prototype
A photo of the actual setup.
Schematic
Wire up the hardware accordingly

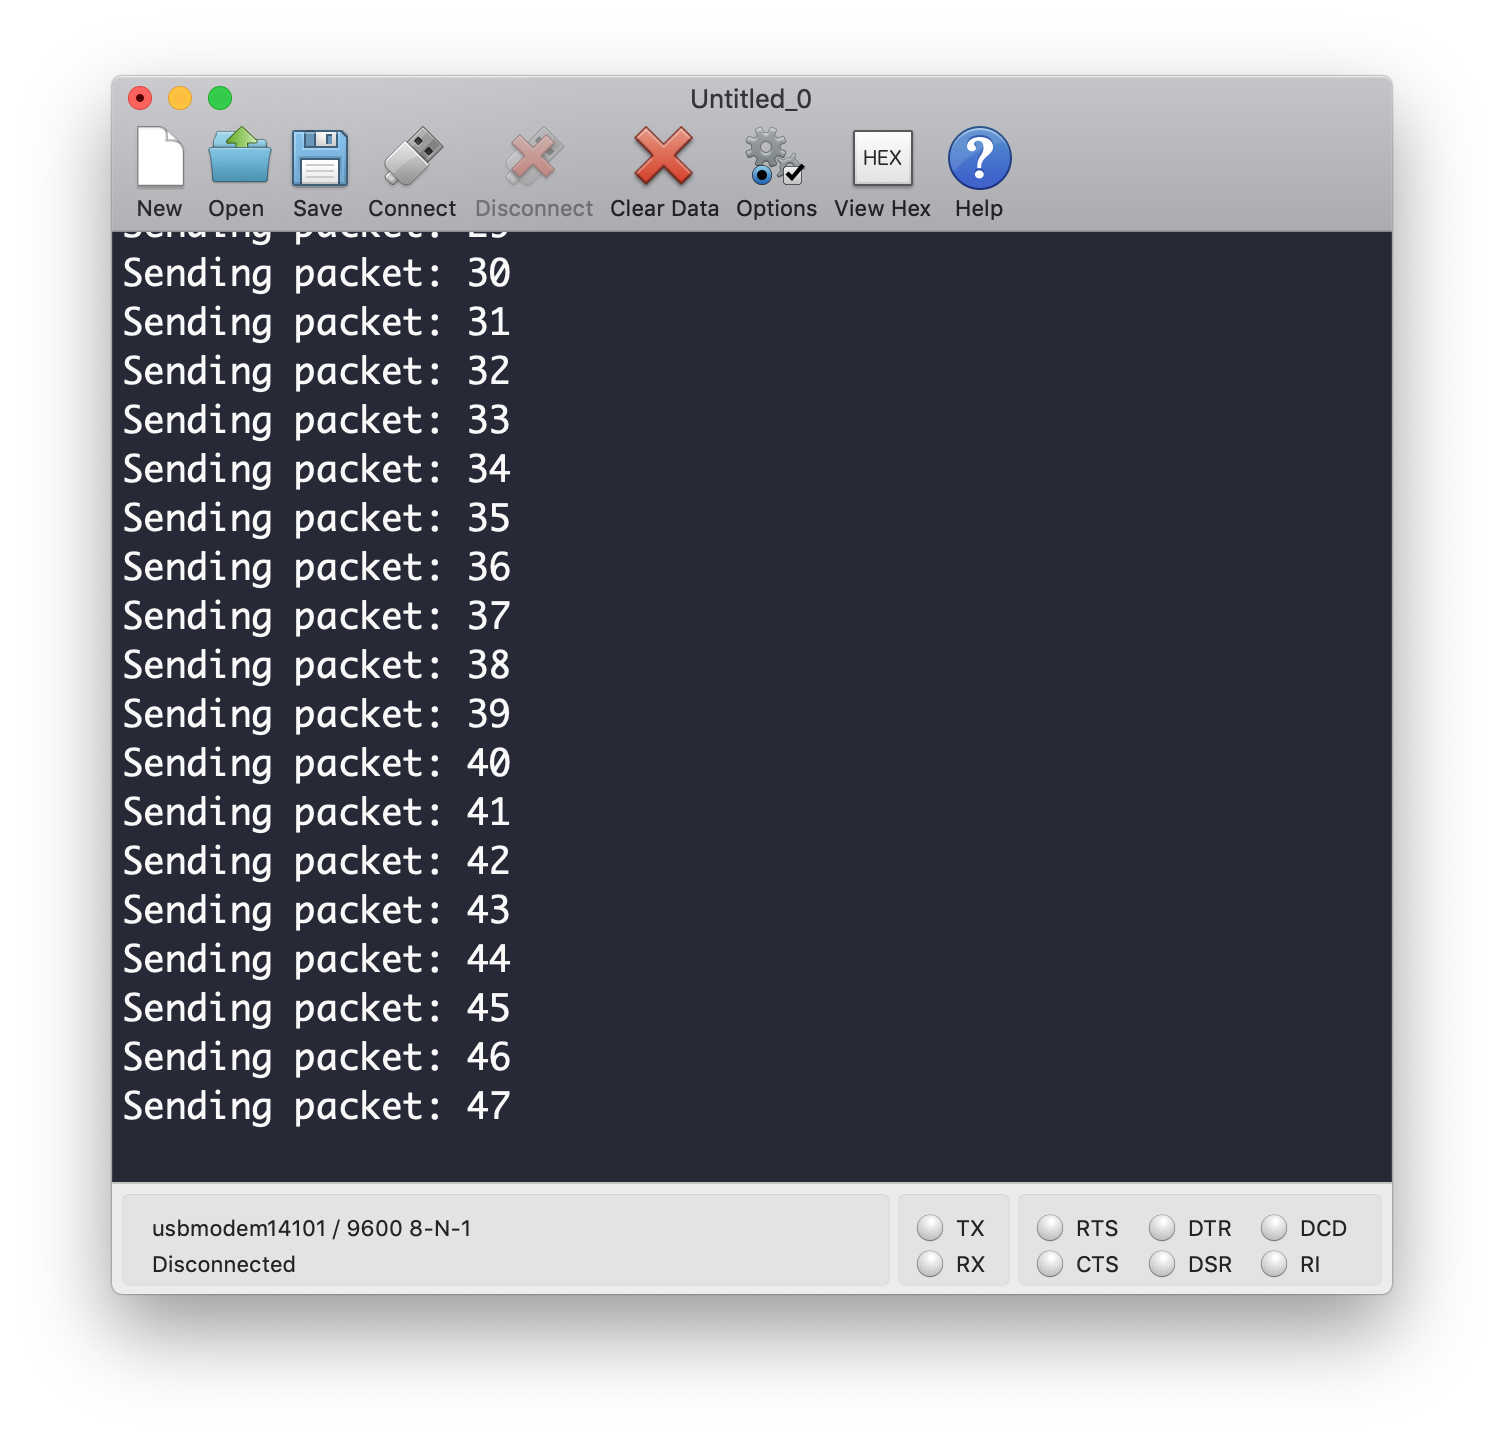
Serial console
Serial output from the firmware.
Dependancies
Pre-requisites
Buy the components
lora-tx.ino
#include <SPI.h>
#include <LoRa.h>

int counter = 0;

void setup() {
  Serial.begin(9600);
  while (!Serial) {}

  Serial.println("LoRa Sender");

  if (!LoRa.begin(433E6)) {
    Serial.println("Starting LoRa failed!");
    while (1) {}
  }
}

void loop() {
  Serial.print("Sending packet: ");
  Serial.println(counter);

  LoRa.beginPacket();
  LoRa.print("hello ");
  LoRa.print(counter);
  LoRa.endPacket();

  counter++;

  delay(5000);
}BOARD?=arduino:avr:uno
PORT?=/dev/cu.usbmodem14101
.PHONY: default lint all flash clean
default: lint all flash clean
lint:
cpplint --extensions=ino --filter=-legal/copyright,-readability/casting,-runtime/int *.ino
all:
arduino-cli compile --fqbn $(BOARD) ./
flash:
arduino-cli upload -p $(PORT) --fqbn $(BOARD) ./
clean:
rm -f .*.hex
rm -f .*.elfA photo of the actual setup.
Wire up the hardware accordingly
Serial output from the firmware.
Transmit from a LoRa point with 433 MHz. Use this with receiving from a LoRa point.