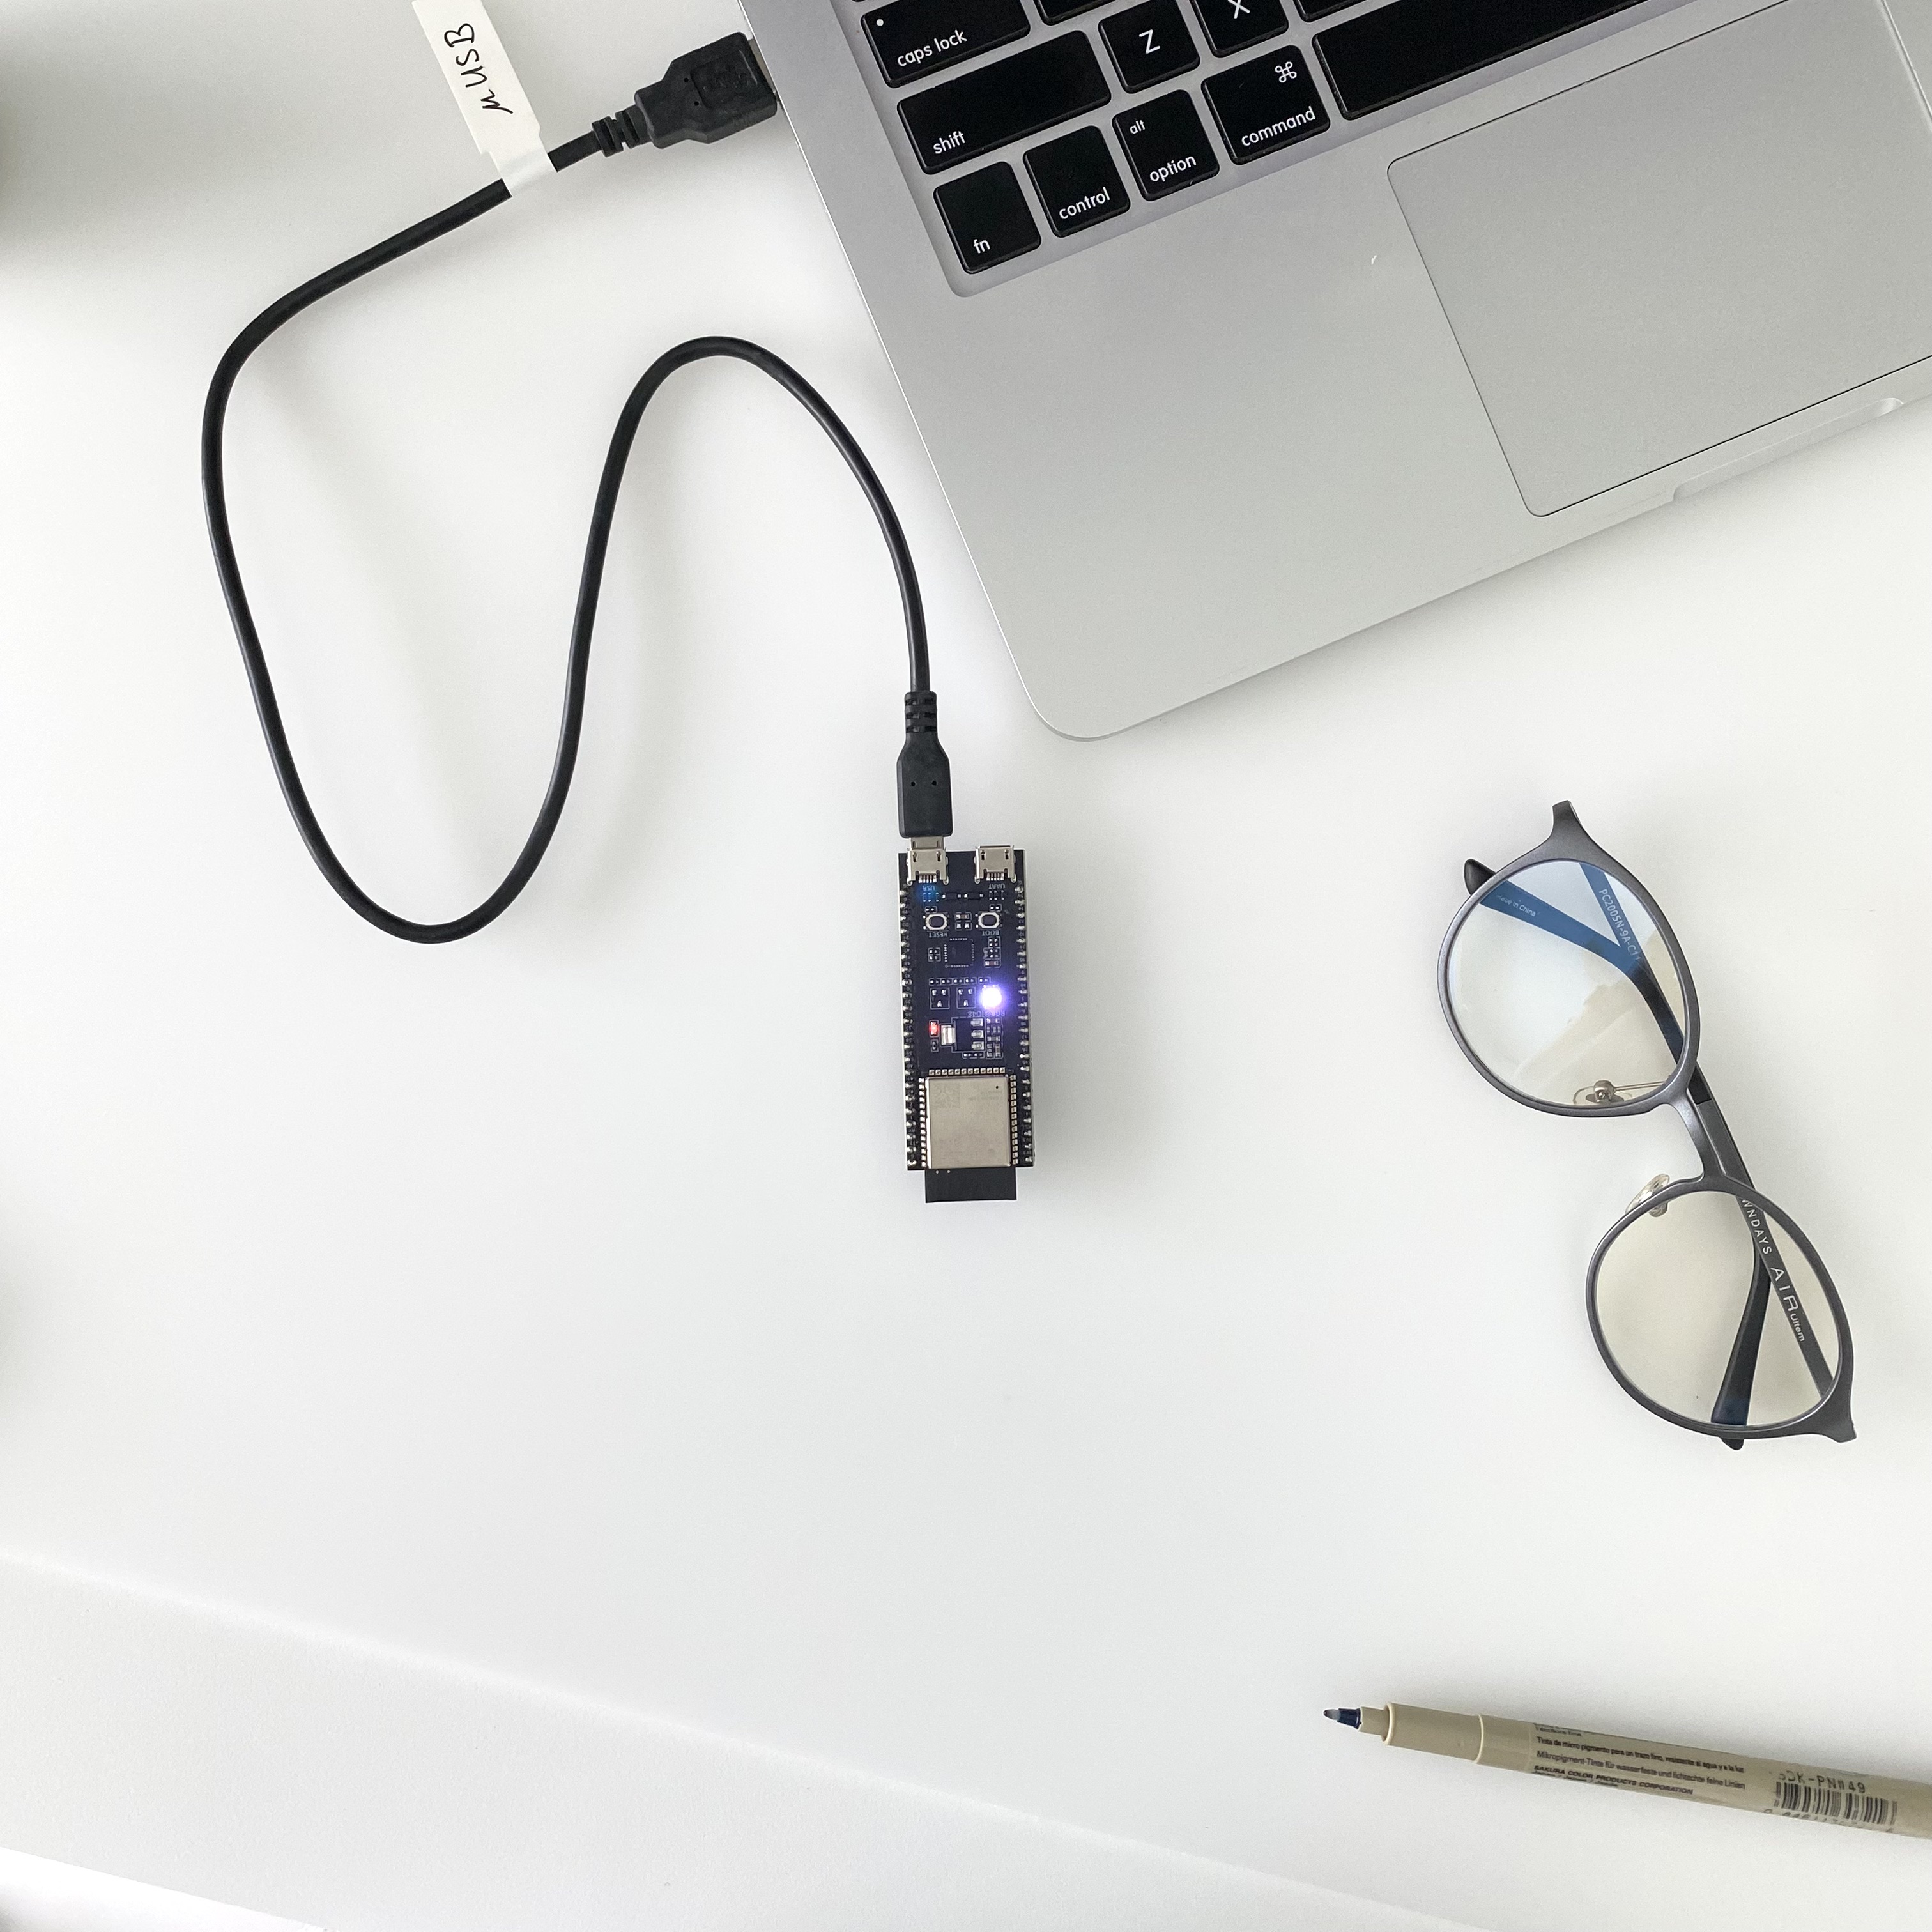
Prototype
A photo of the actual setup.
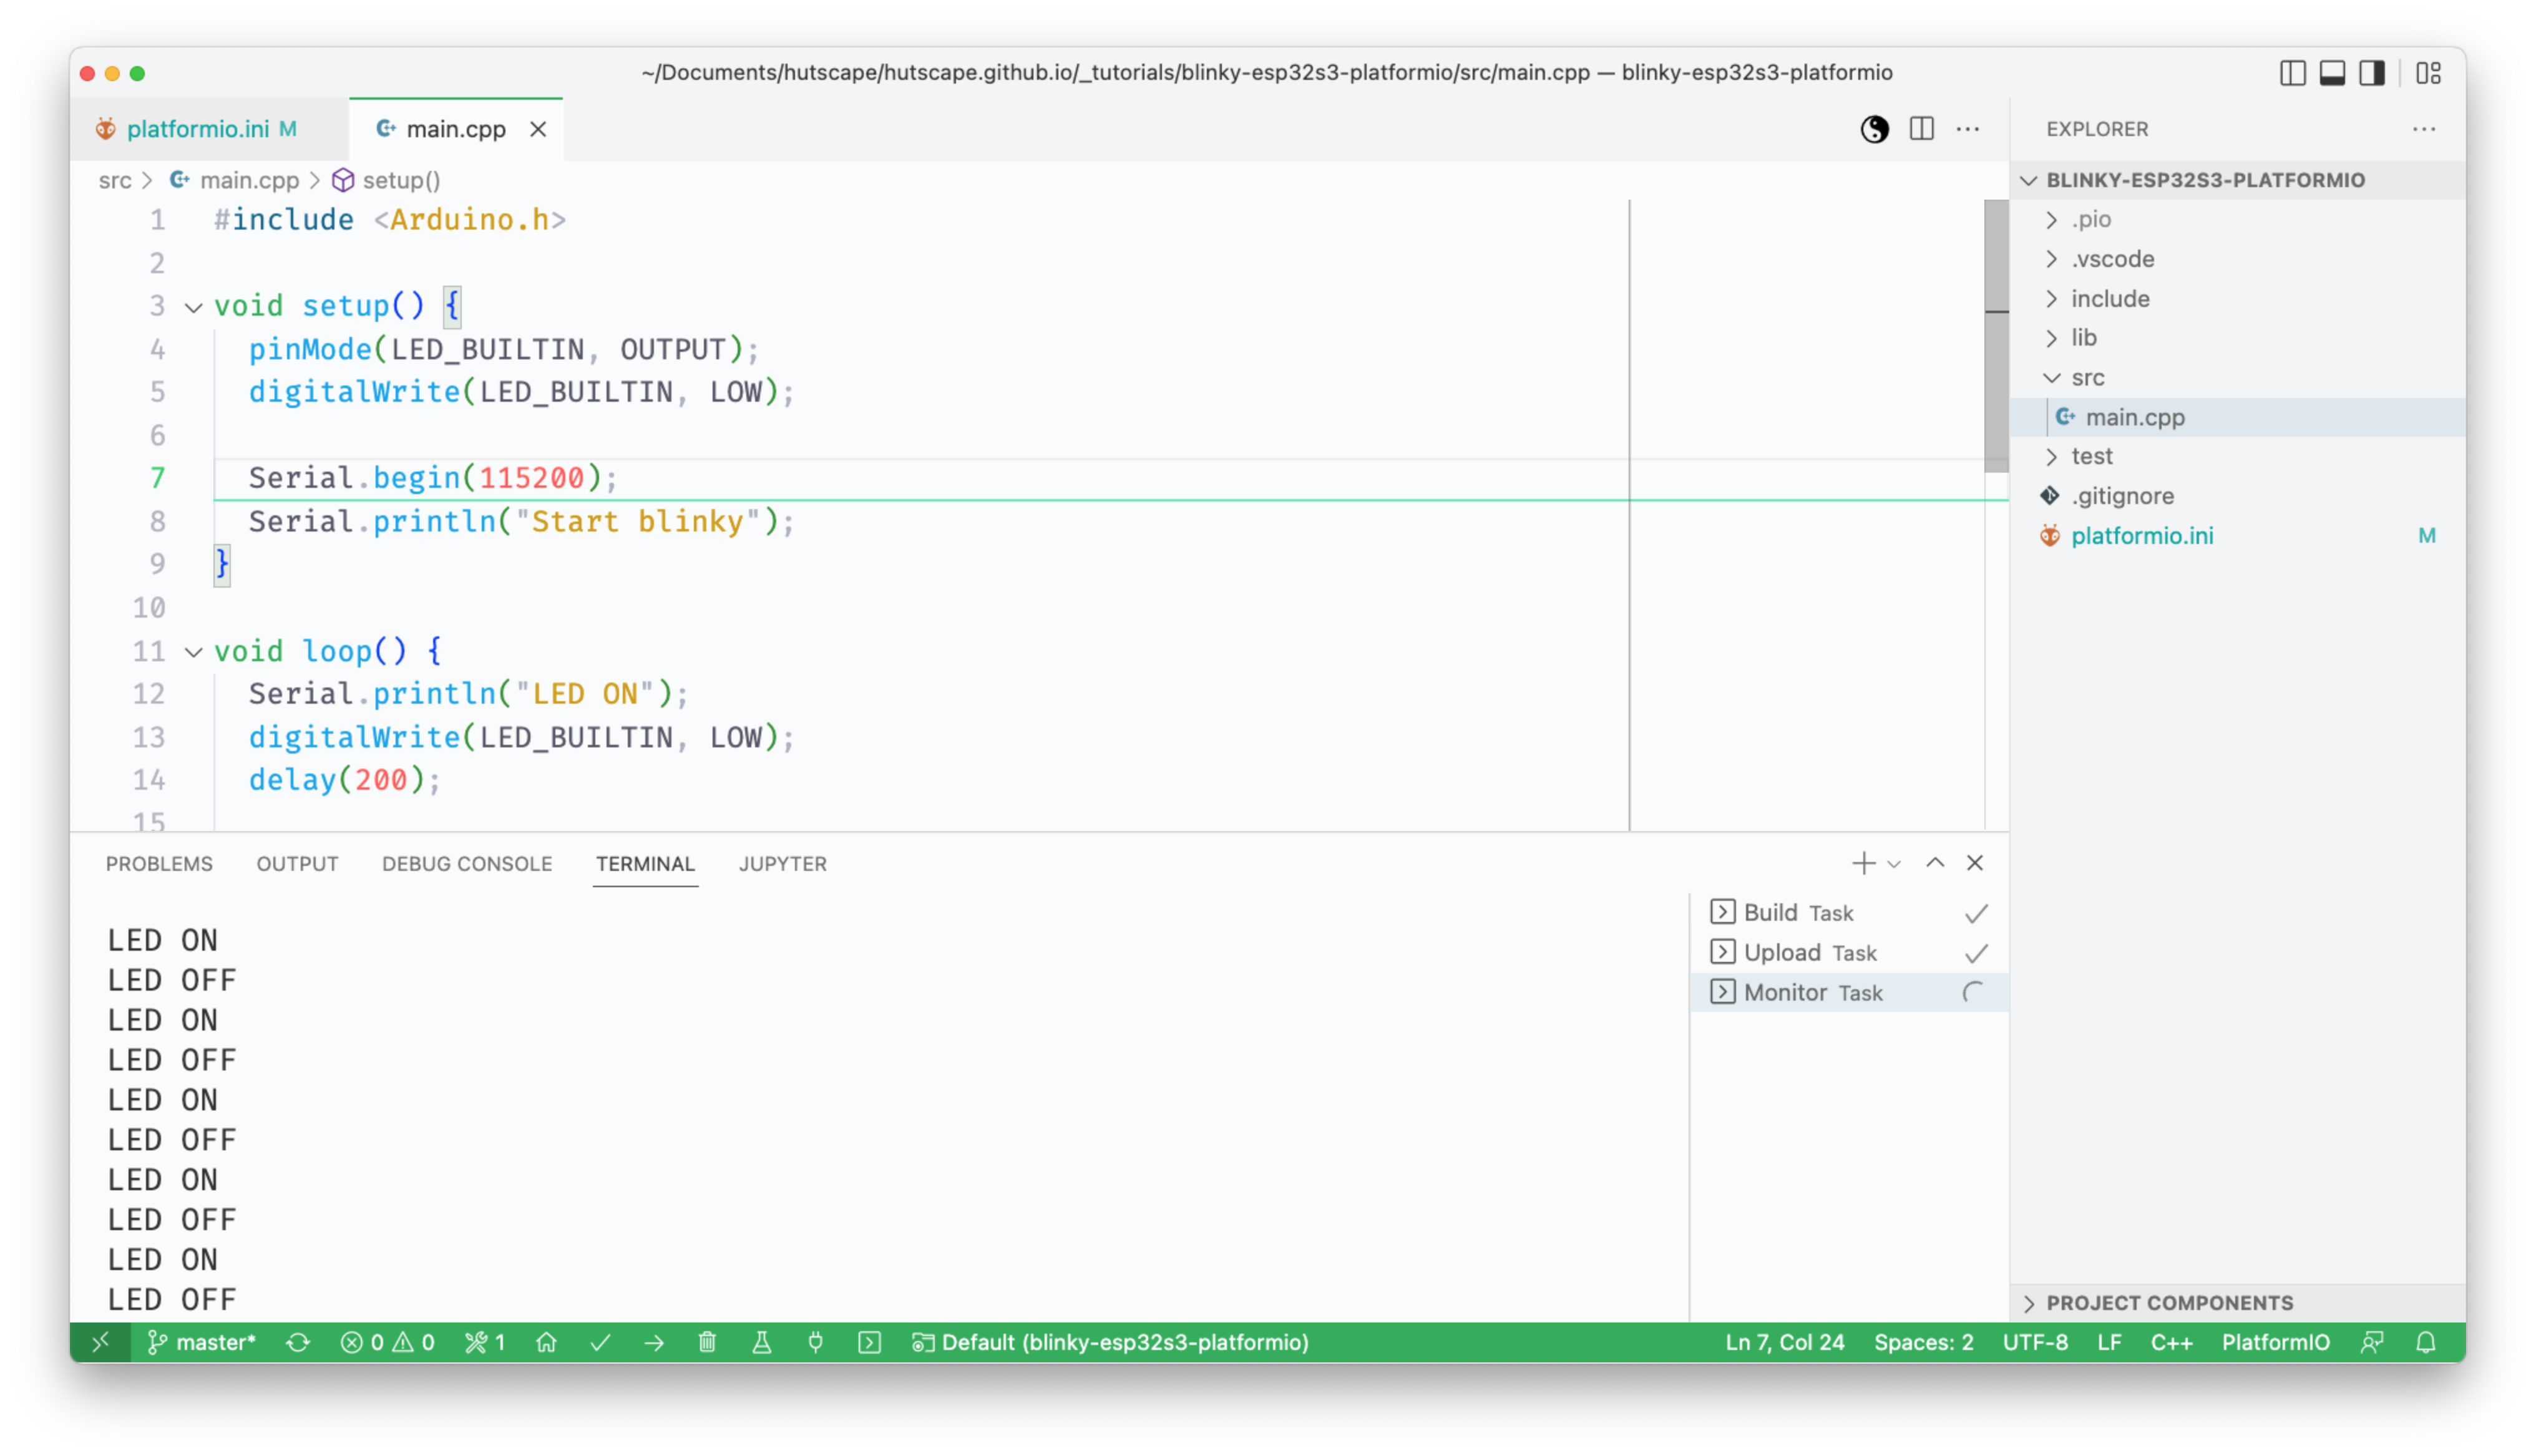
Serial console
Serial output from the firmware.
Dependancies
Buy the components
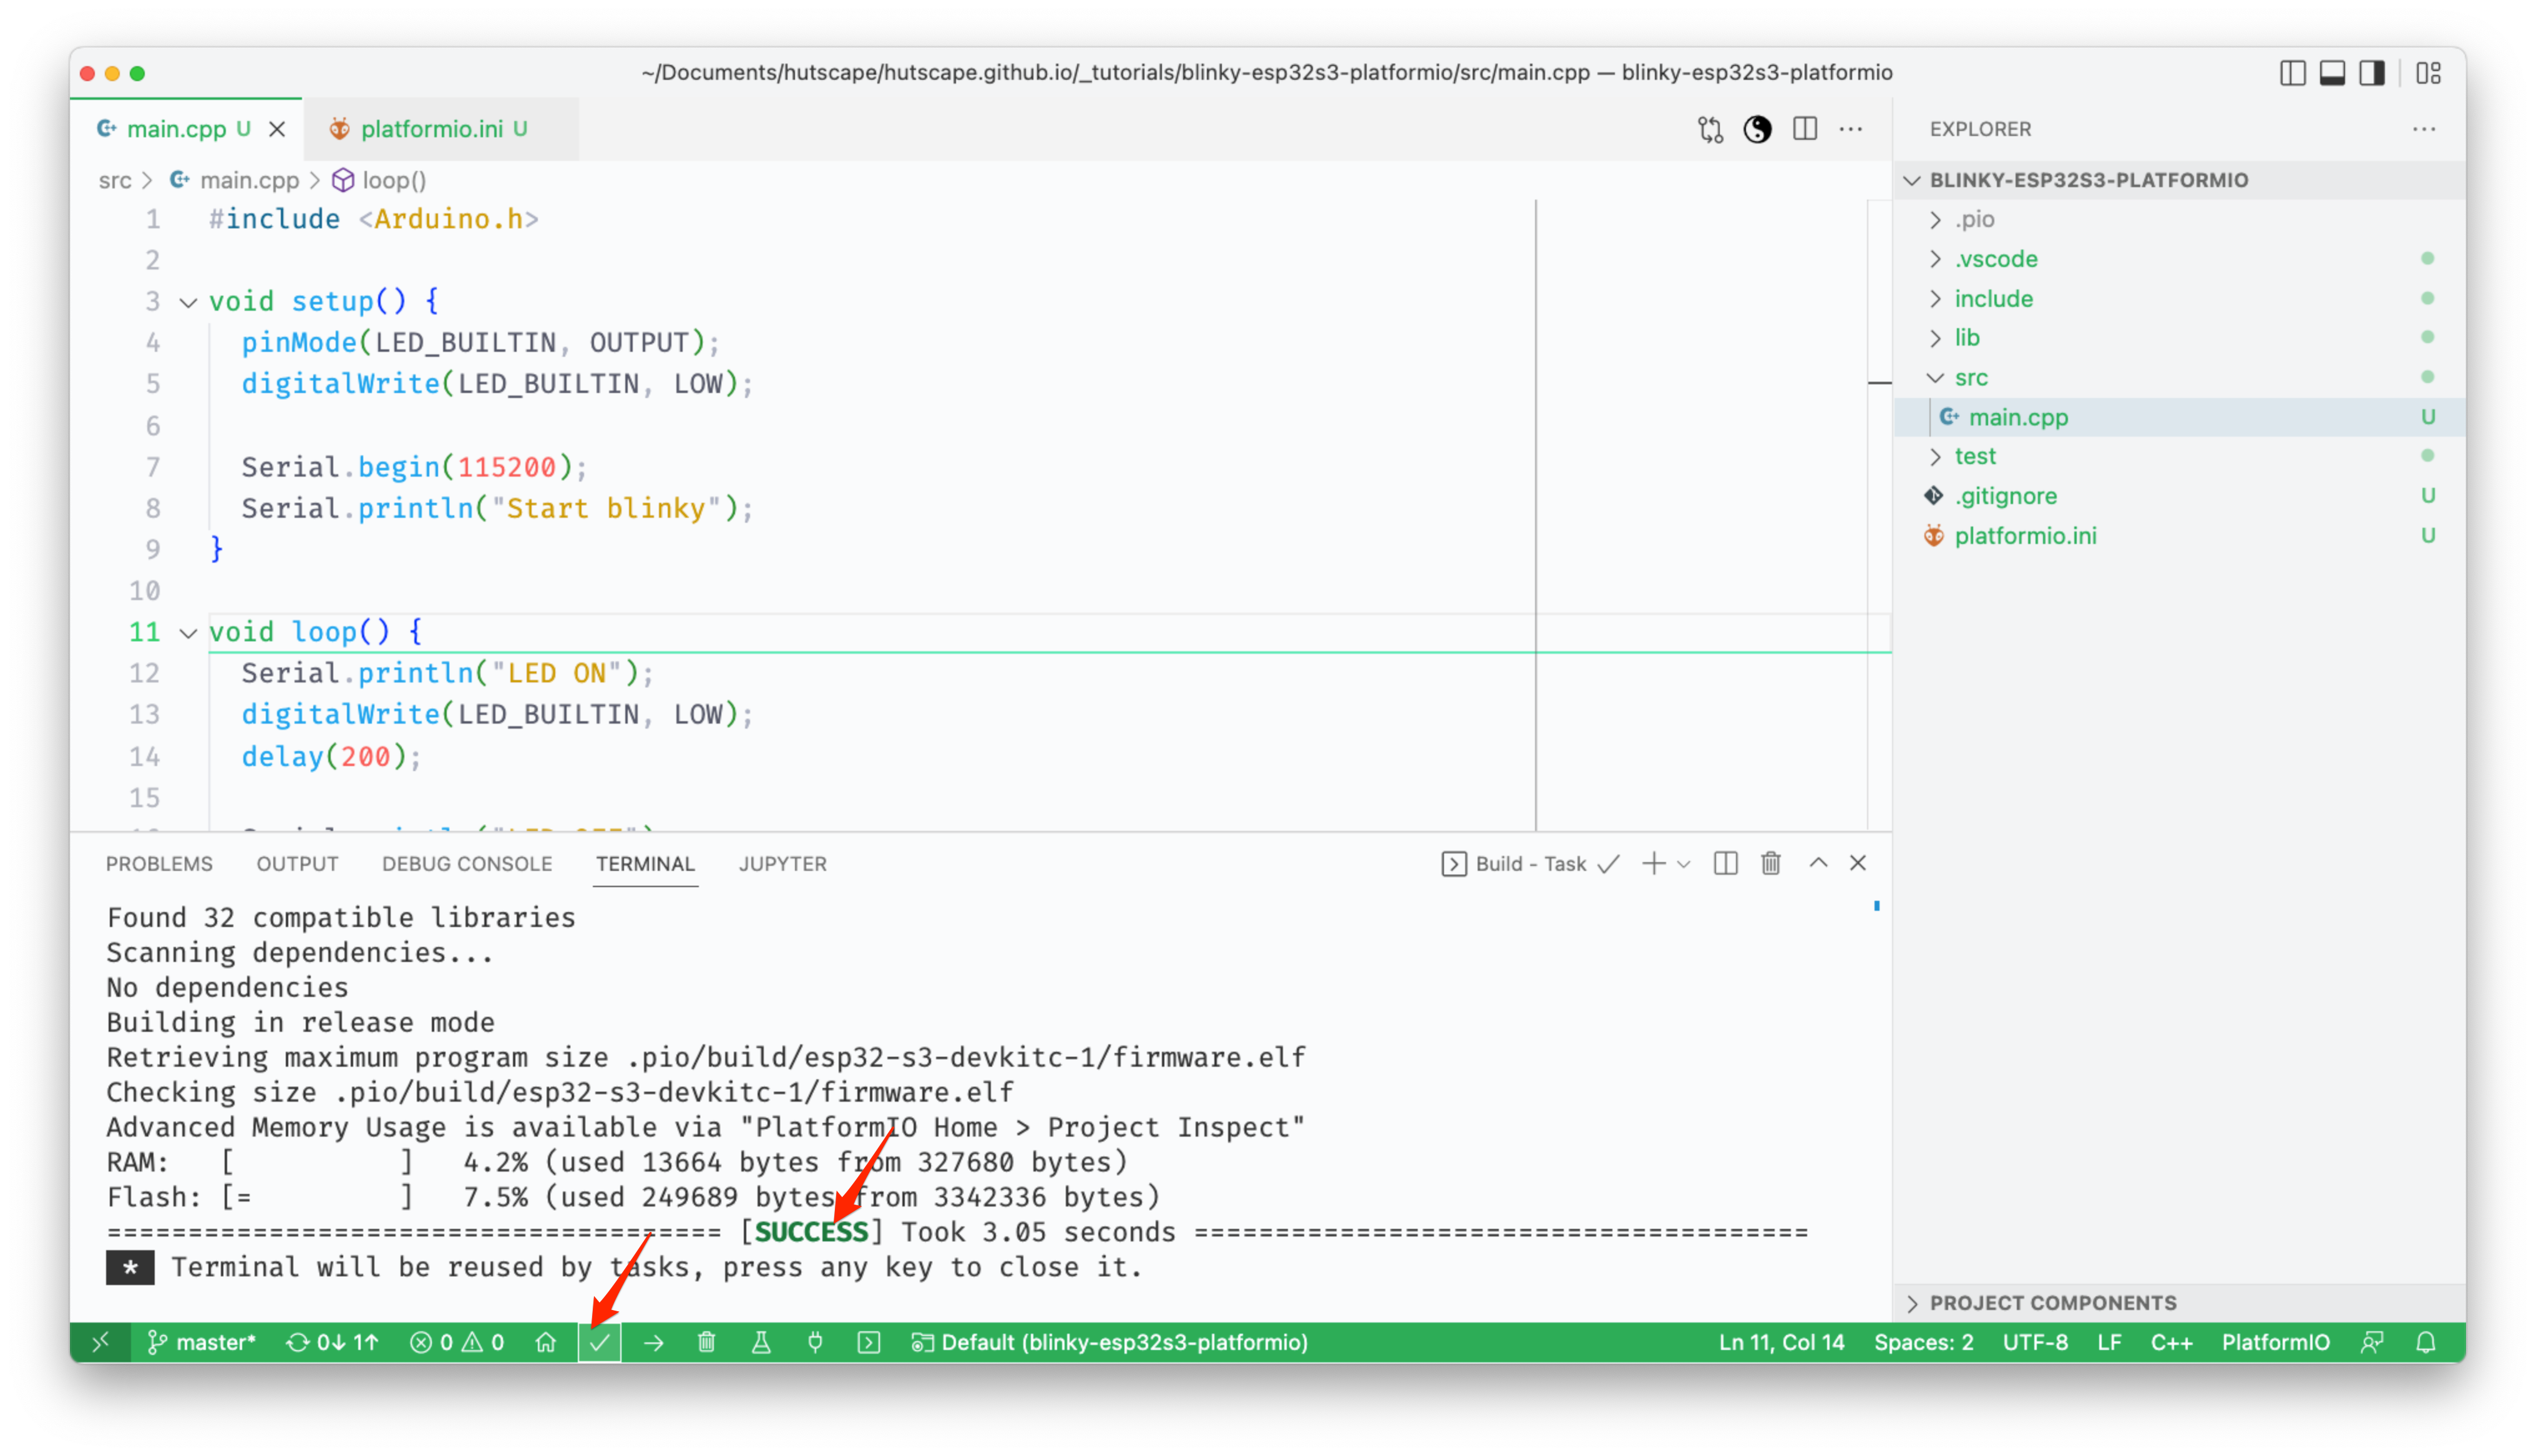
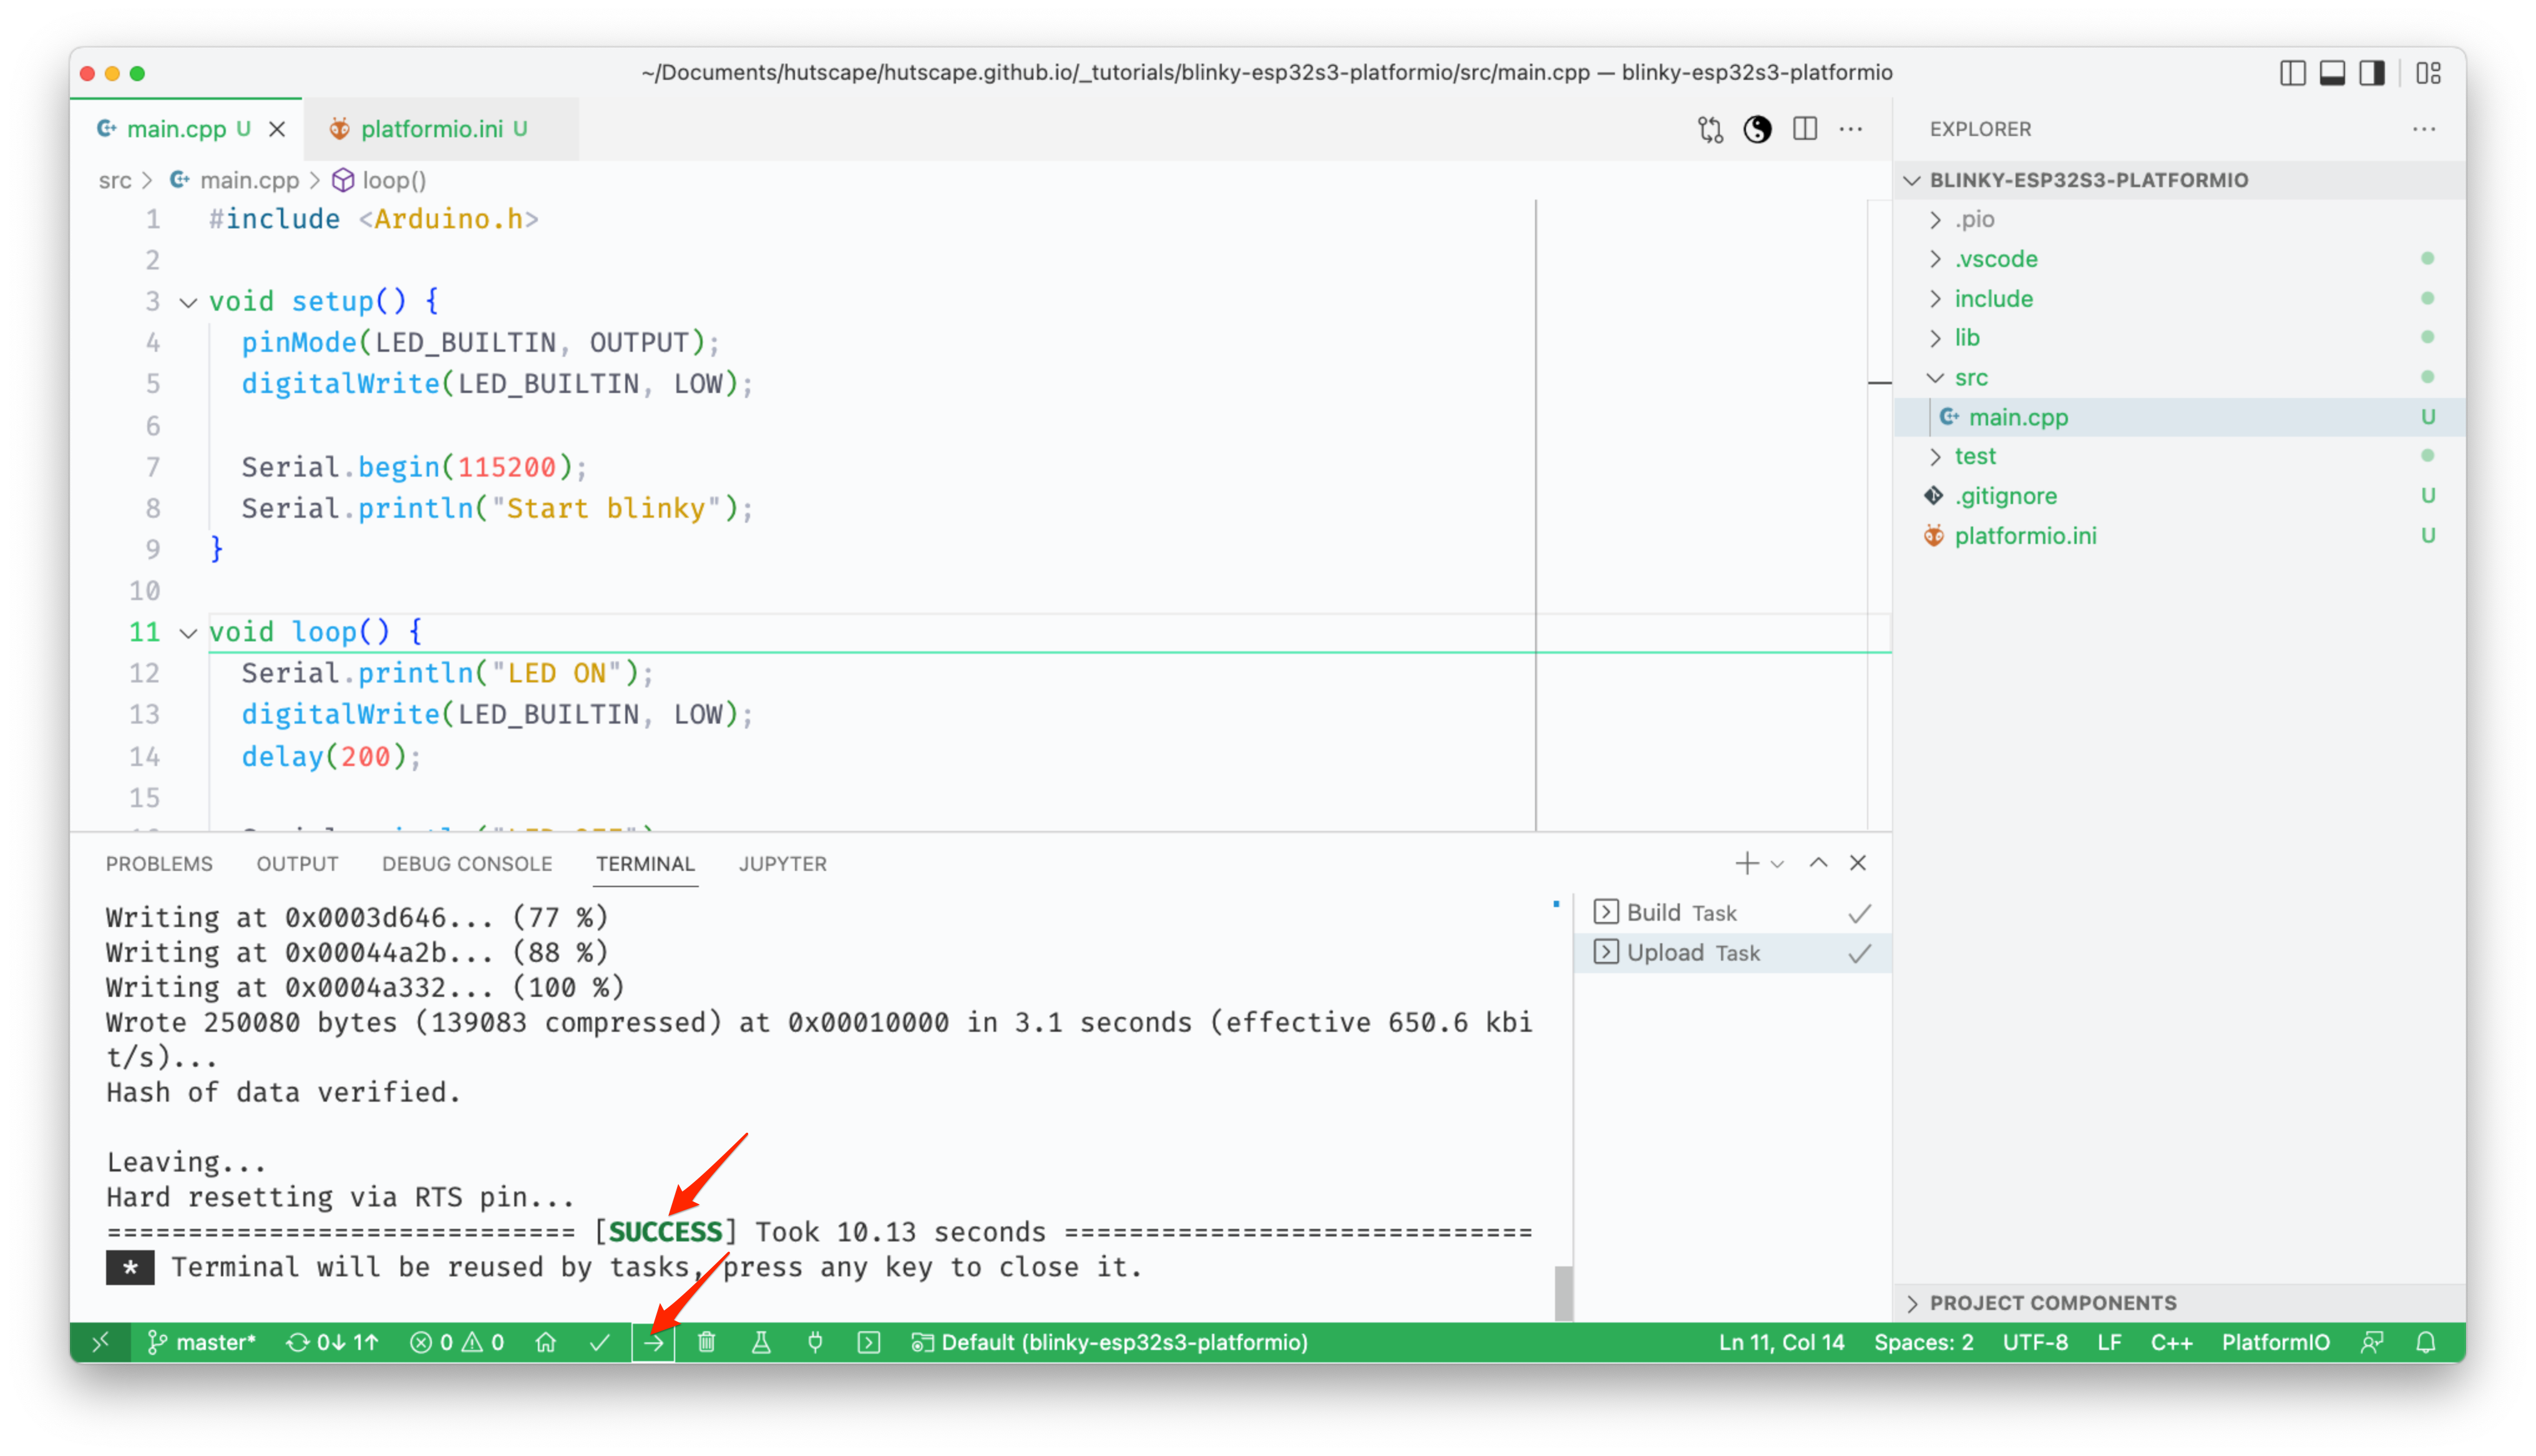
src/main.cpp
#include <Arduino.h>

void setup() {
  pinMode(LED_BUILTIN, OUTPUT);
  digitalWrite(LED_BUILTIN, LOW);

  Serial.begin(115200);
  Serial.println("Start blinky");
}

void loop() {
  Serial.println("LED ON");
  digitalWrite(LED_BUILTIN, LOW);
  delay(200);

  Serial.println("LED OFF");
  digitalWrite(LED_BUILTIN, HIGH);
  delay(200);
}A photo of the actual setup.
Serial output from the firmware.
src/main.cpp with blinky Arduino codeplatform.ini to other configurations