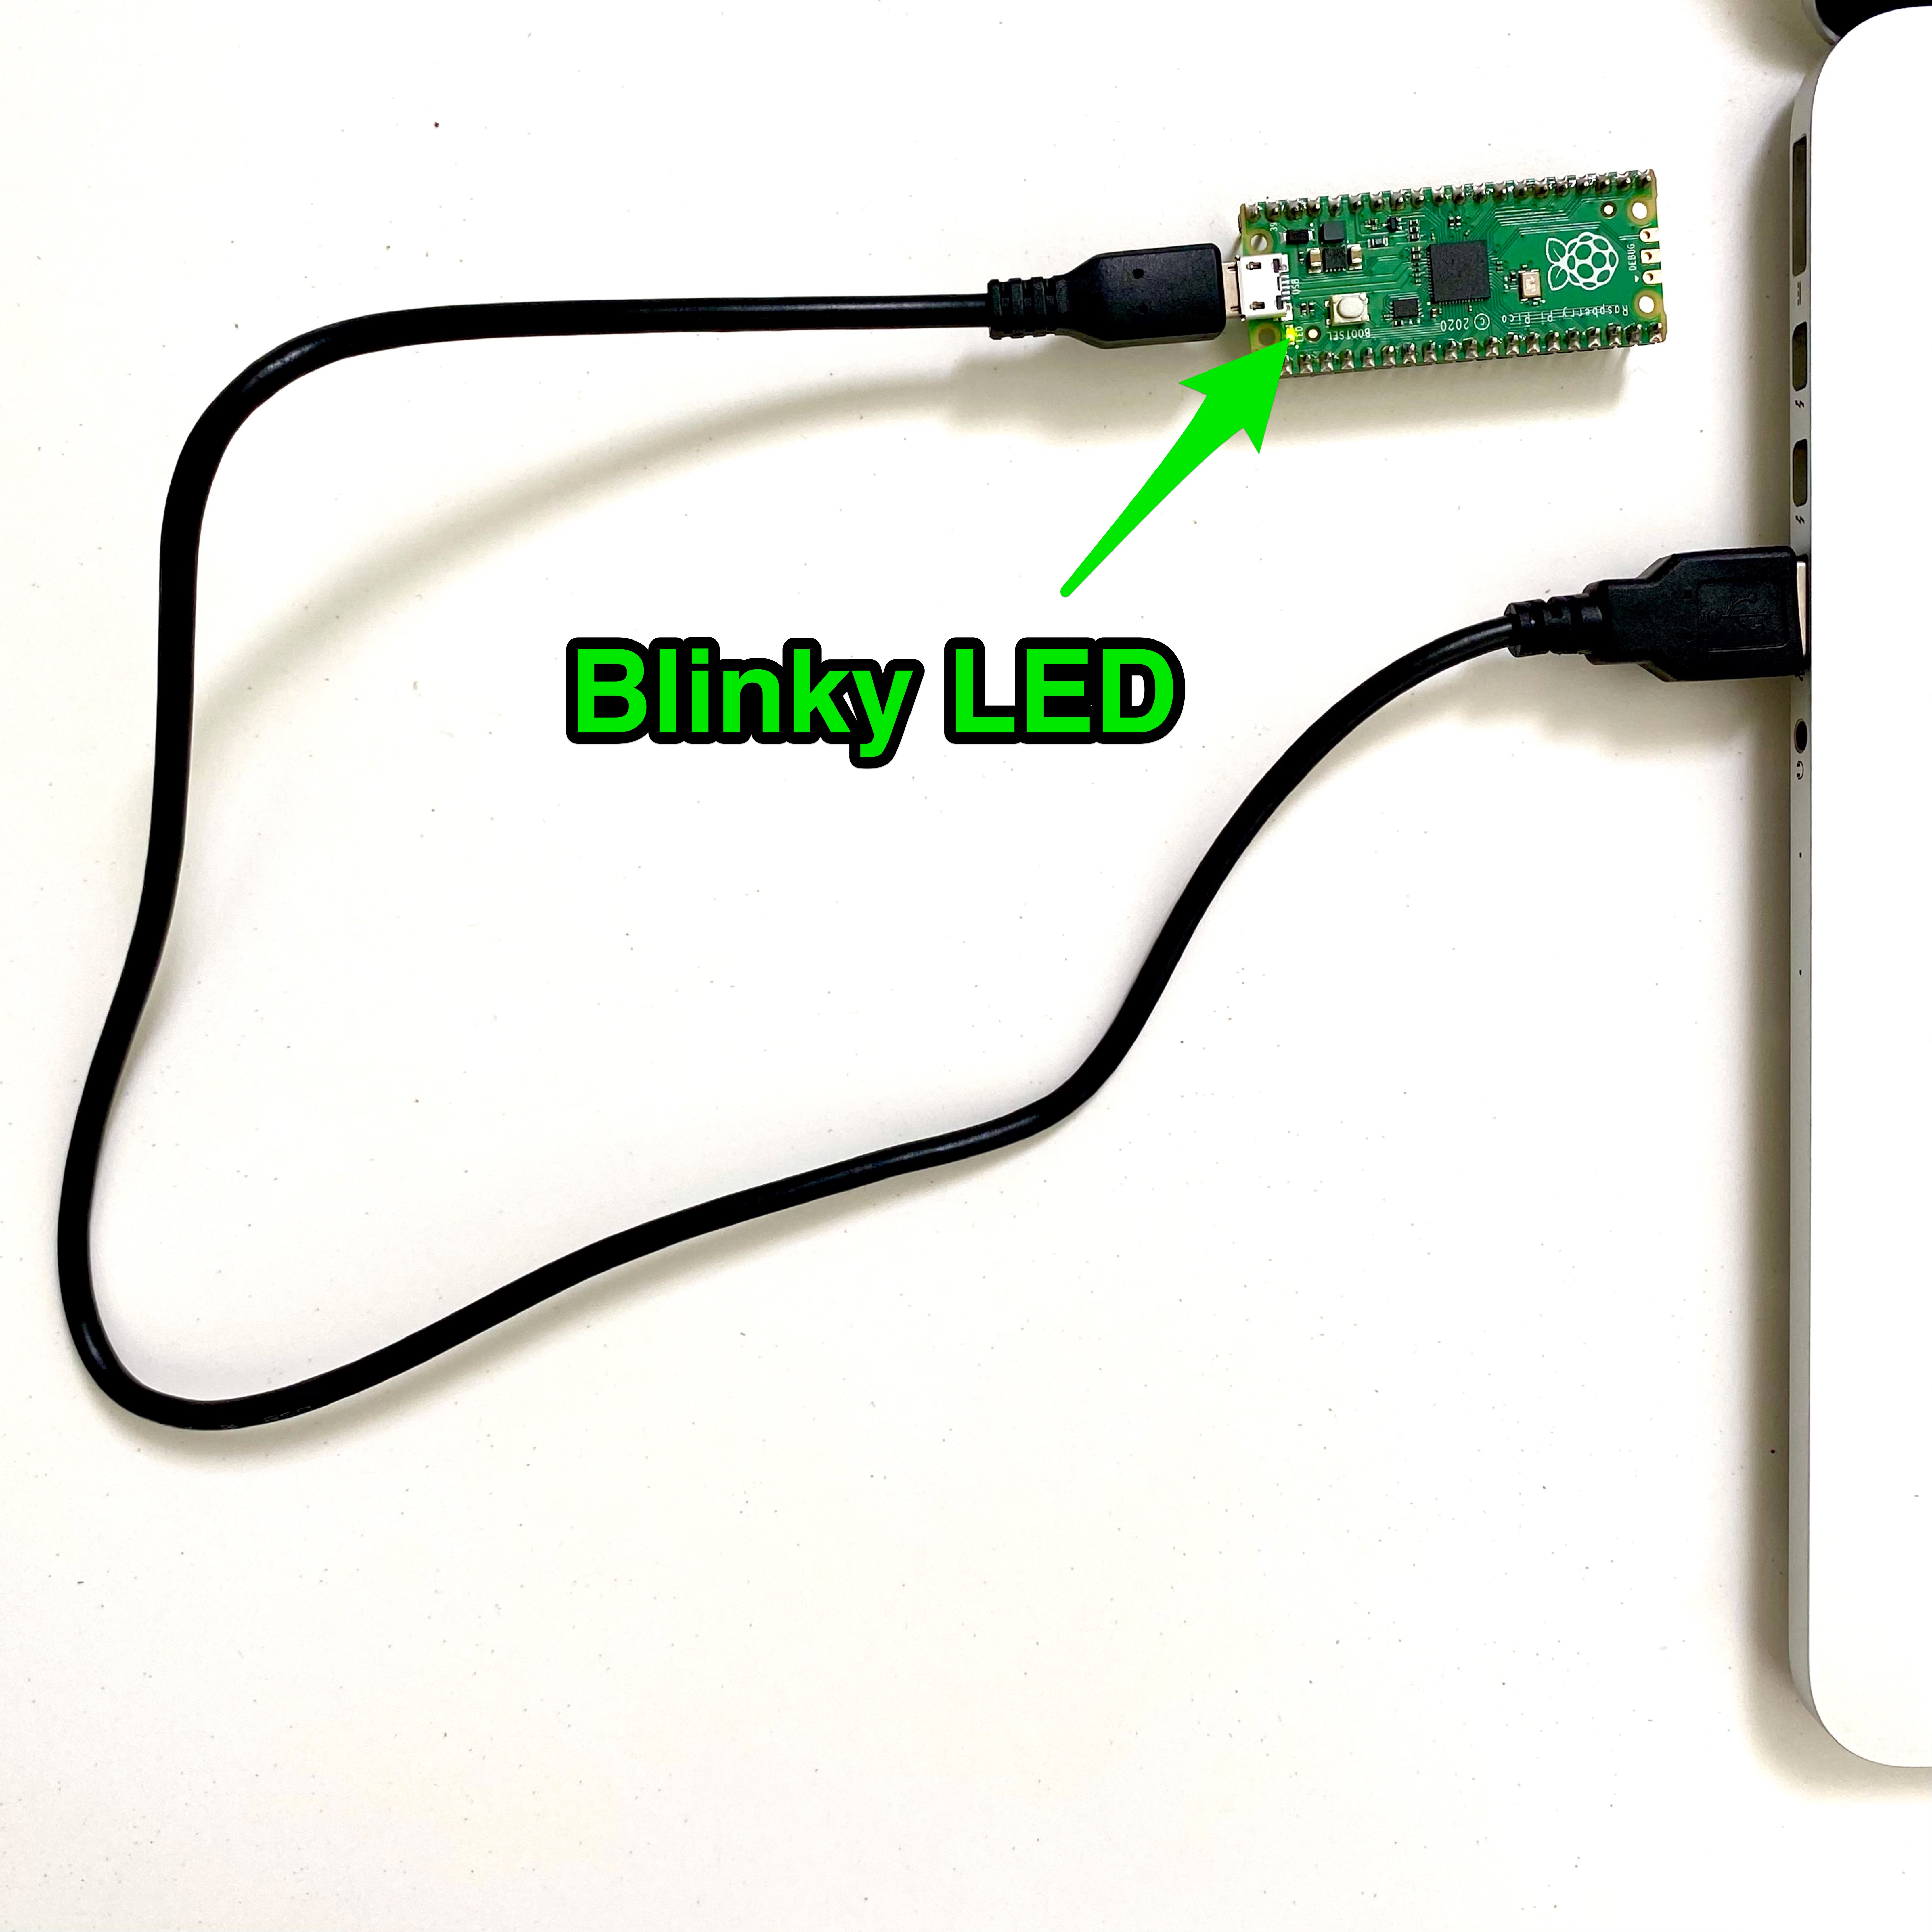
Prototype
A photo of the actual setup.
Serial console
Serial output from the firmware.

Dependancies
Buy the components
blinky-pico.c
#include <stdio.h>
#include "pico/stdlib.h"

const uint LED_PIN = 25;

int main() {
  stdio_init_all();

  gpio_init(LED_PIN);
  gpio_set_dir(LED_PIN, GPIO_OUT);

  while (true) {
    gpio_put(LED_PIN, 0);
    sleep_ms(250);
    gpio_put(LED_PIN, 1);
    puts("Hello World blinky!");
    sleep_ms(1000);
  }
}A photo of the actual setup.
Serial output from the firmware.
Create a blinky LED with RaspberryPI Pico board with RP2040 microcontroller using the native C/C++ SDK.
Refer Getting started with Raspberry Pi Pico PDF document for Linux or Windows.
cd CHOOSE_YOUR_PICO_SDK_PATH
git clone [email protected]:raspberrypi/pico-sdk.git

brew install cmake
brew tap ArmMbed/homebrew-formulae
brew install arm-none-eabi-gcc

# vs code extensions
code --install-extension marus25.cortex-debug
code --install-extension ms-vscode.cmake-tools
code --install-extension ms-vscode.cpptools

# environment variable for the pico-sdk installation apth
export PICO_SDK_PATH=~/PATH/TO/pico-sdk