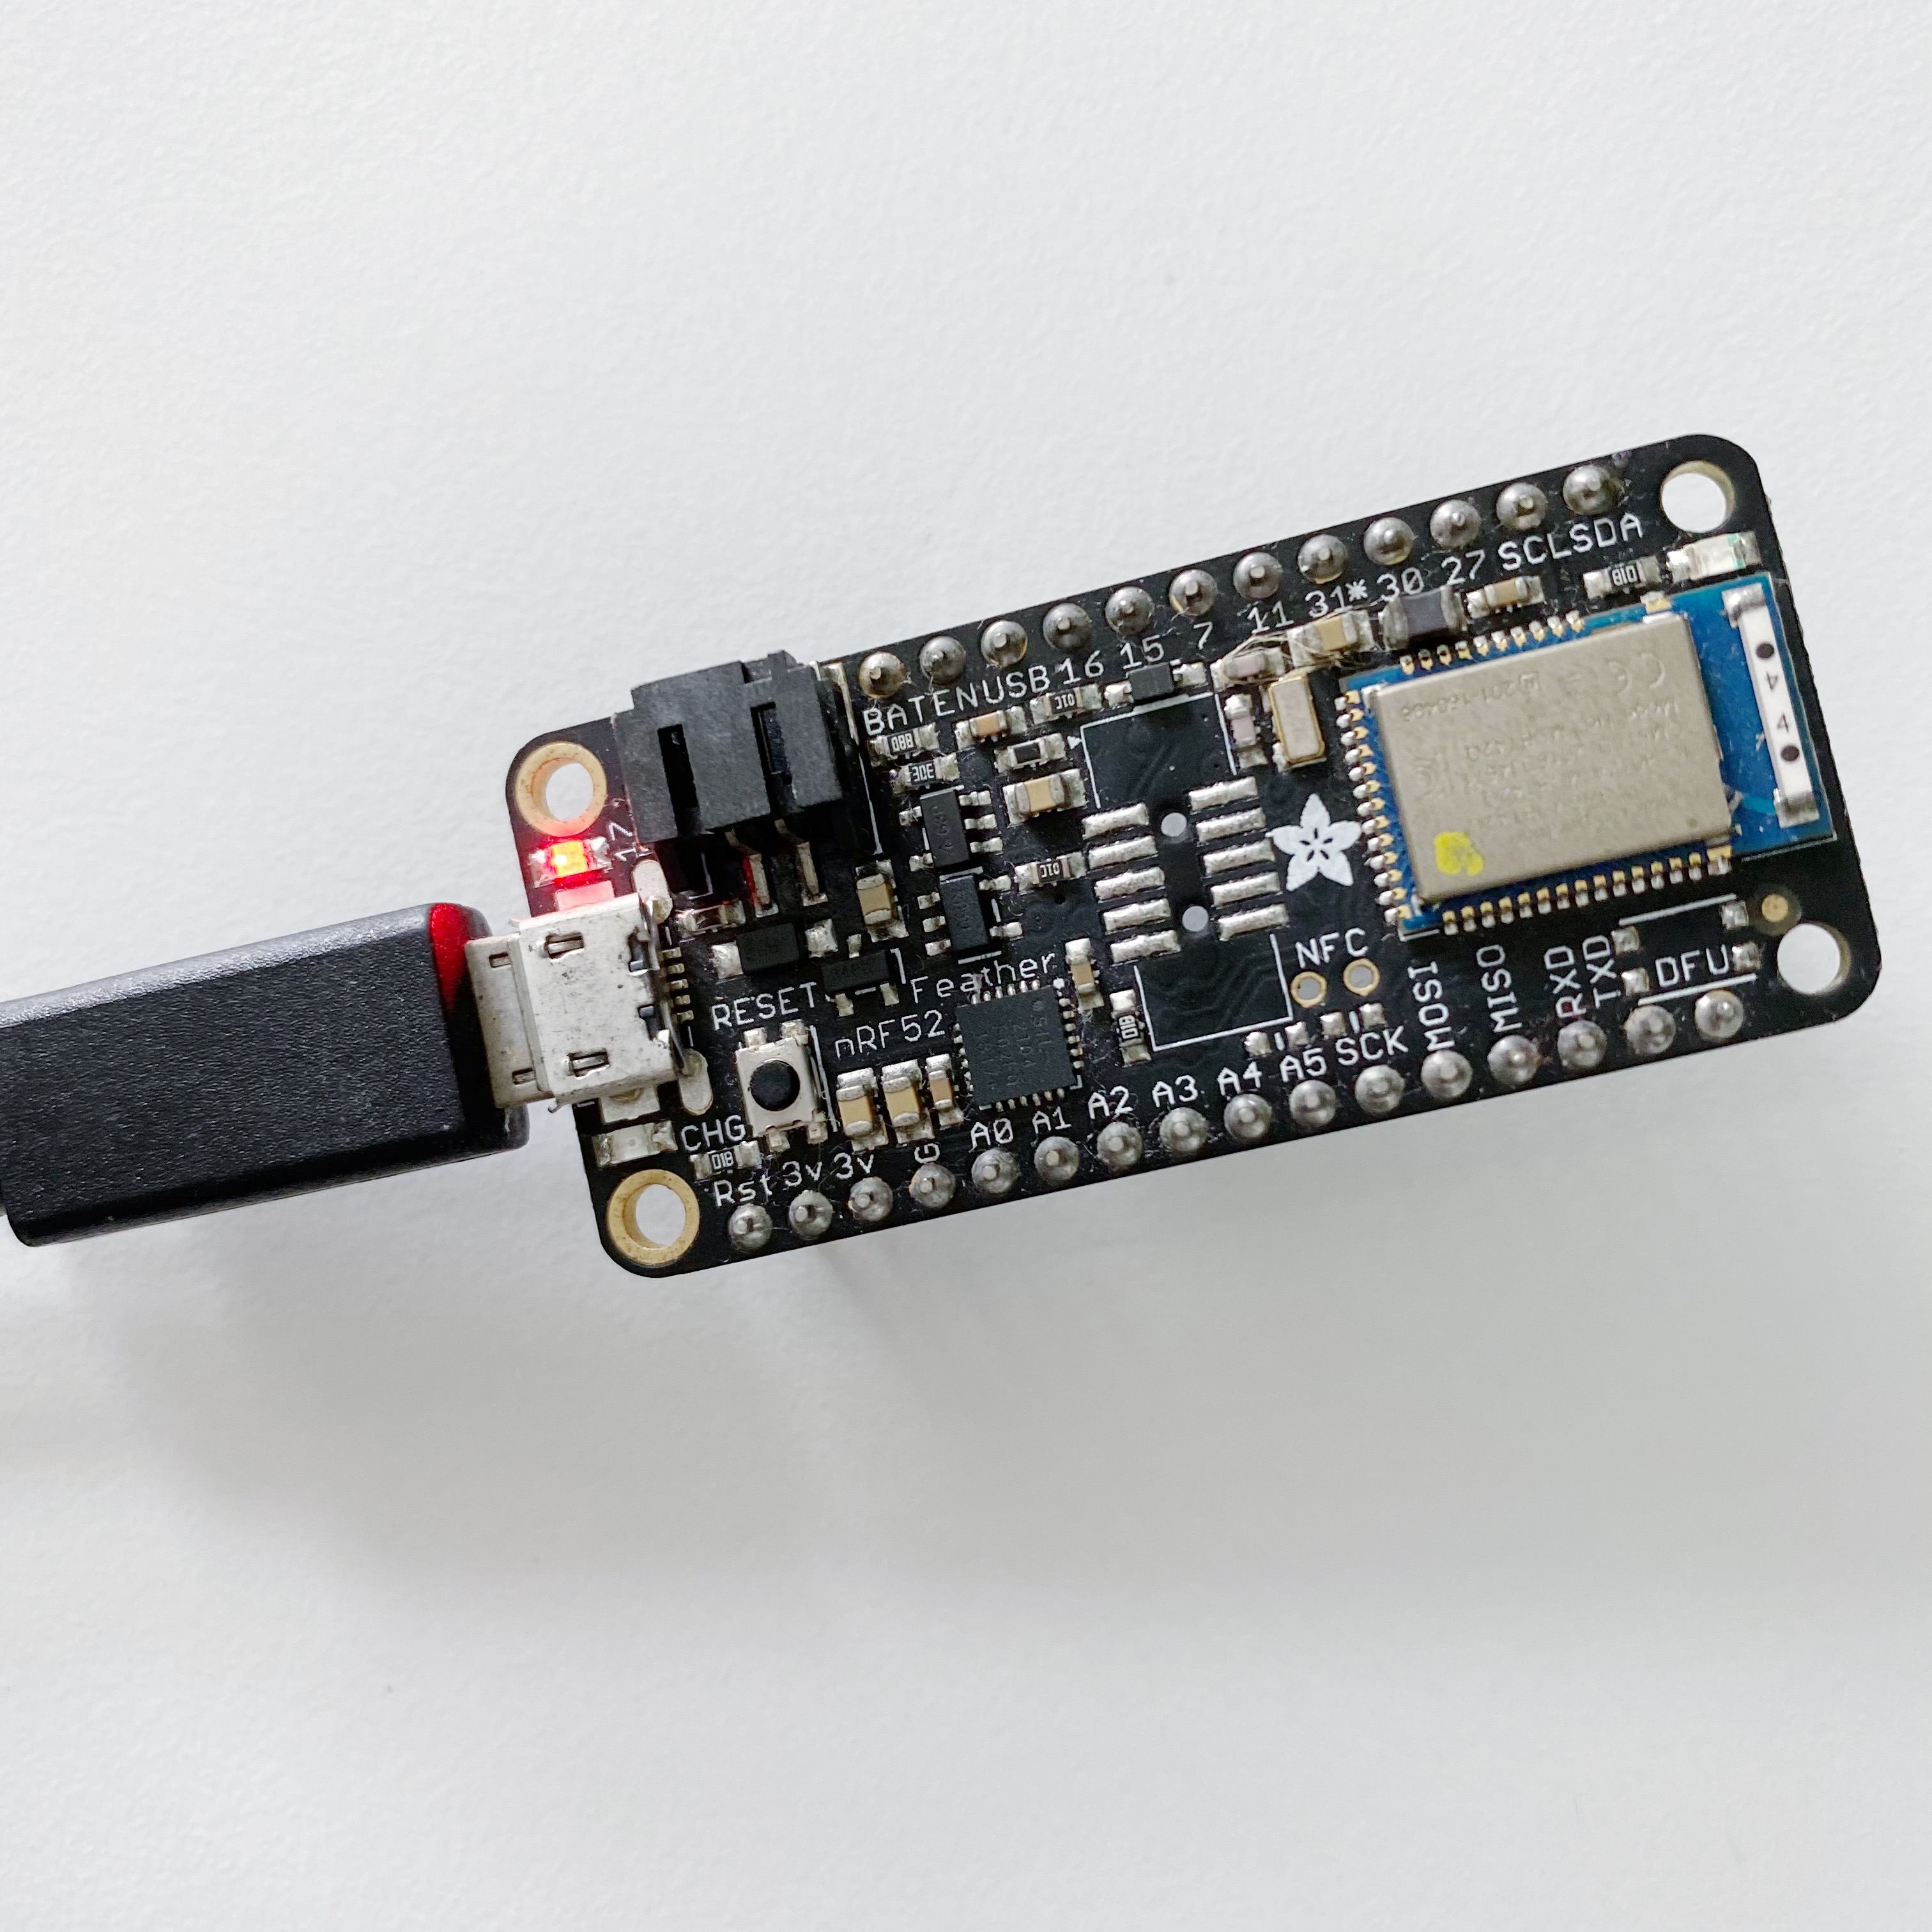
Prototype
A photo of the actual setup.
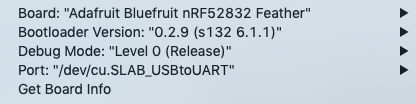
Arduino IDE settings
Ensure the following IDE settings before flashing.
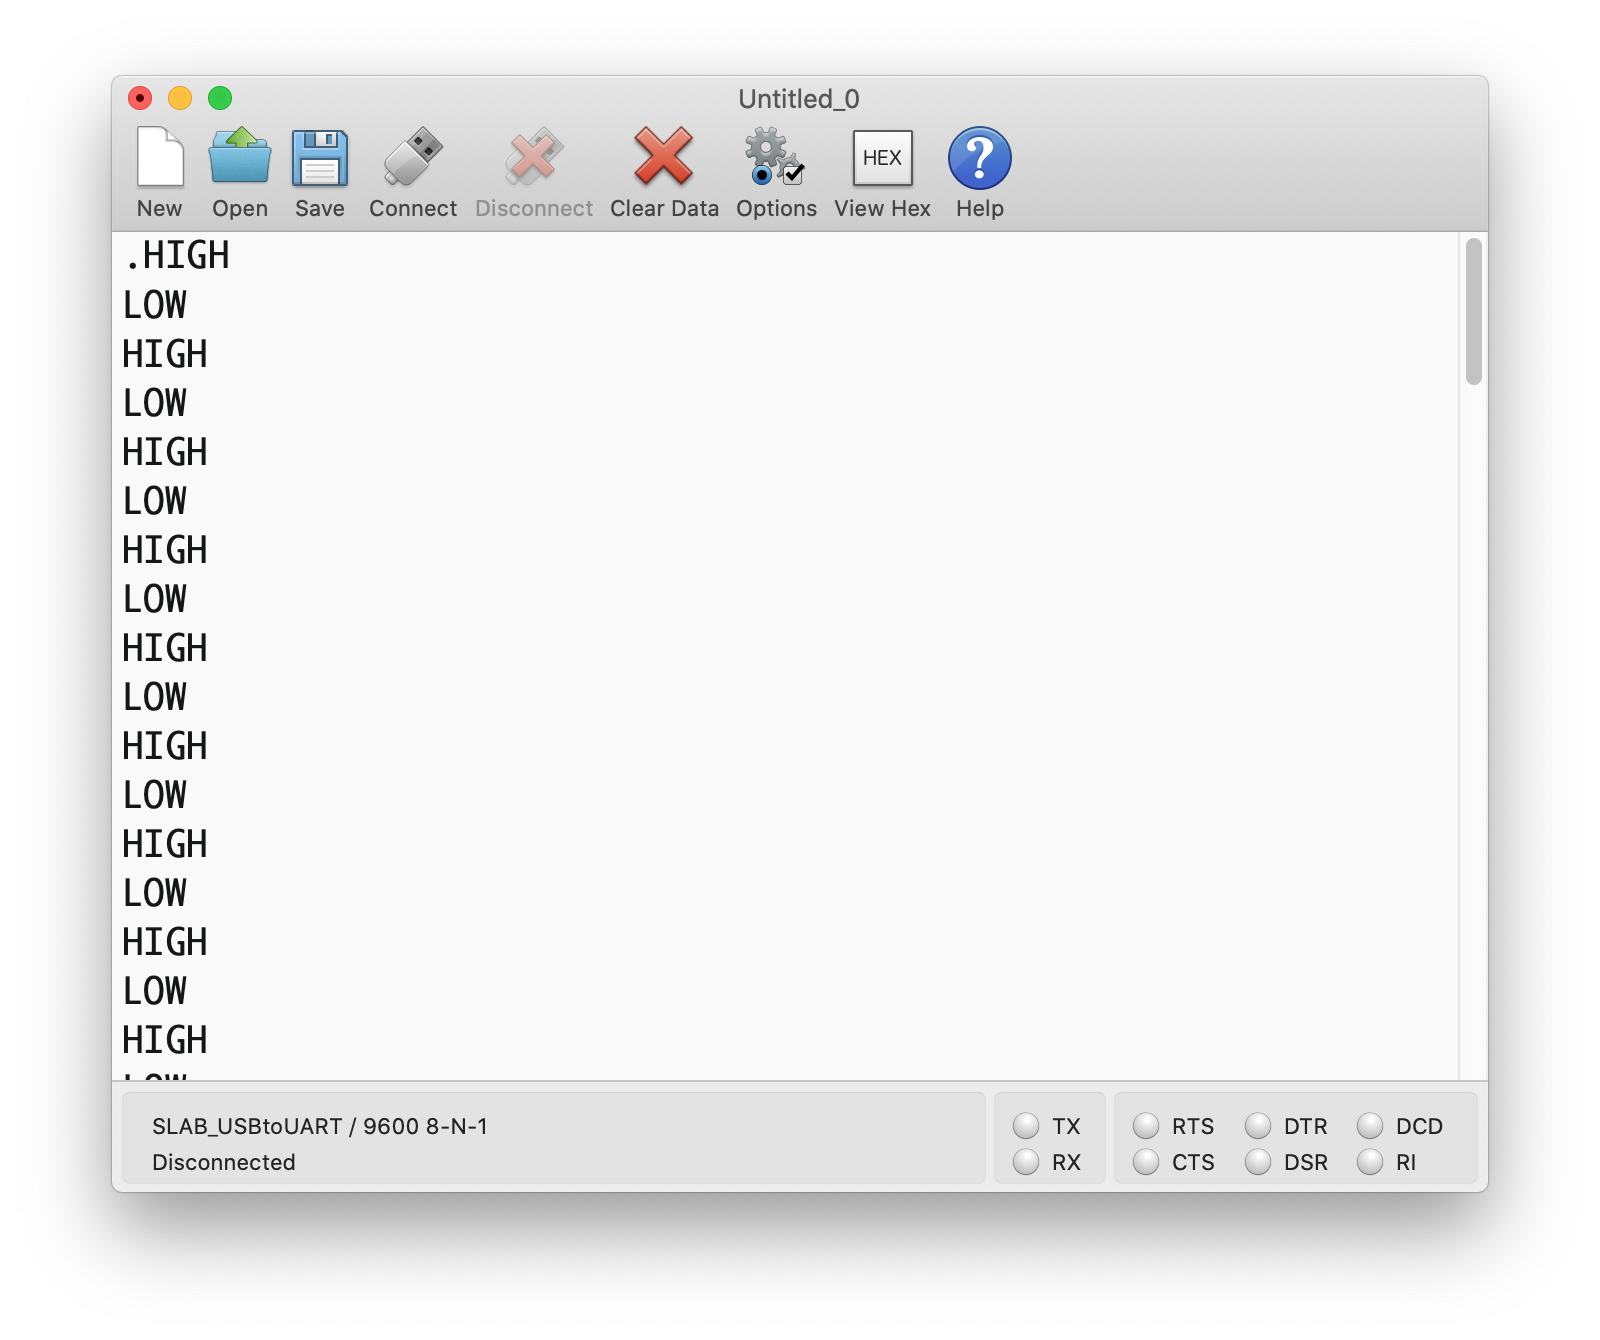
Serial console
Serial output from the firmware.
Dependancies
Buy the components
blinky-nrf52.ino
void setup() {
  Serial.begin(9600);
  while (!Serial) {}

  pinMode(LED_BUILTIN, OUTPUT);
}

void loop() {
  Serial.println("HIGH");
  digitalWrite(LED_BUILTIN, HIGH);
  delay(1000);

  Serial.println("LOW");
  digitalWrite(LED_BUILTIN, LOW);
  delay(1000);
}BOARD?=adafruit:nrf52:feather52832
PORT?=/dev/tty.SLAB_USBtoUART
BUILD=build
# Arduino CLI version 0.14.0 is used.
.PHONY: default lint all flash clean
default: lint all flash clean
lint:
cpplint --extensions=ino --filter=-legal/copyright *.ino
all:
arduino-cli compile --fqbn $(BOARD) --output-dir $(BUILD) ./
flash:
adafruit-nrfutil dfu genpkg --dev-type 0x0052 --application $(BUILD)/*.hex dfu-package.zip
adafruit-nrfutil dfu serial --package dfu-package.zip -p $(PORT) -b 115200
clean:
rm -rf build
rm dfu-package.zipA photo of the actual setup.
Ensure the following IDE settings before flashing.
Serial output from the firmware.
Create a blinky LED with Adafruit Bluefruit nRF52 breakout board.
Ensure the boards URL is added in Arduino IDE / CLI:
https://www.adafruit.com/package_adafruit_index.json
To use command line arduino-cli, install Adafruit nRF52 nrfutil with pip3:
pip3 install --user adafruit-nrfutil