Prototype
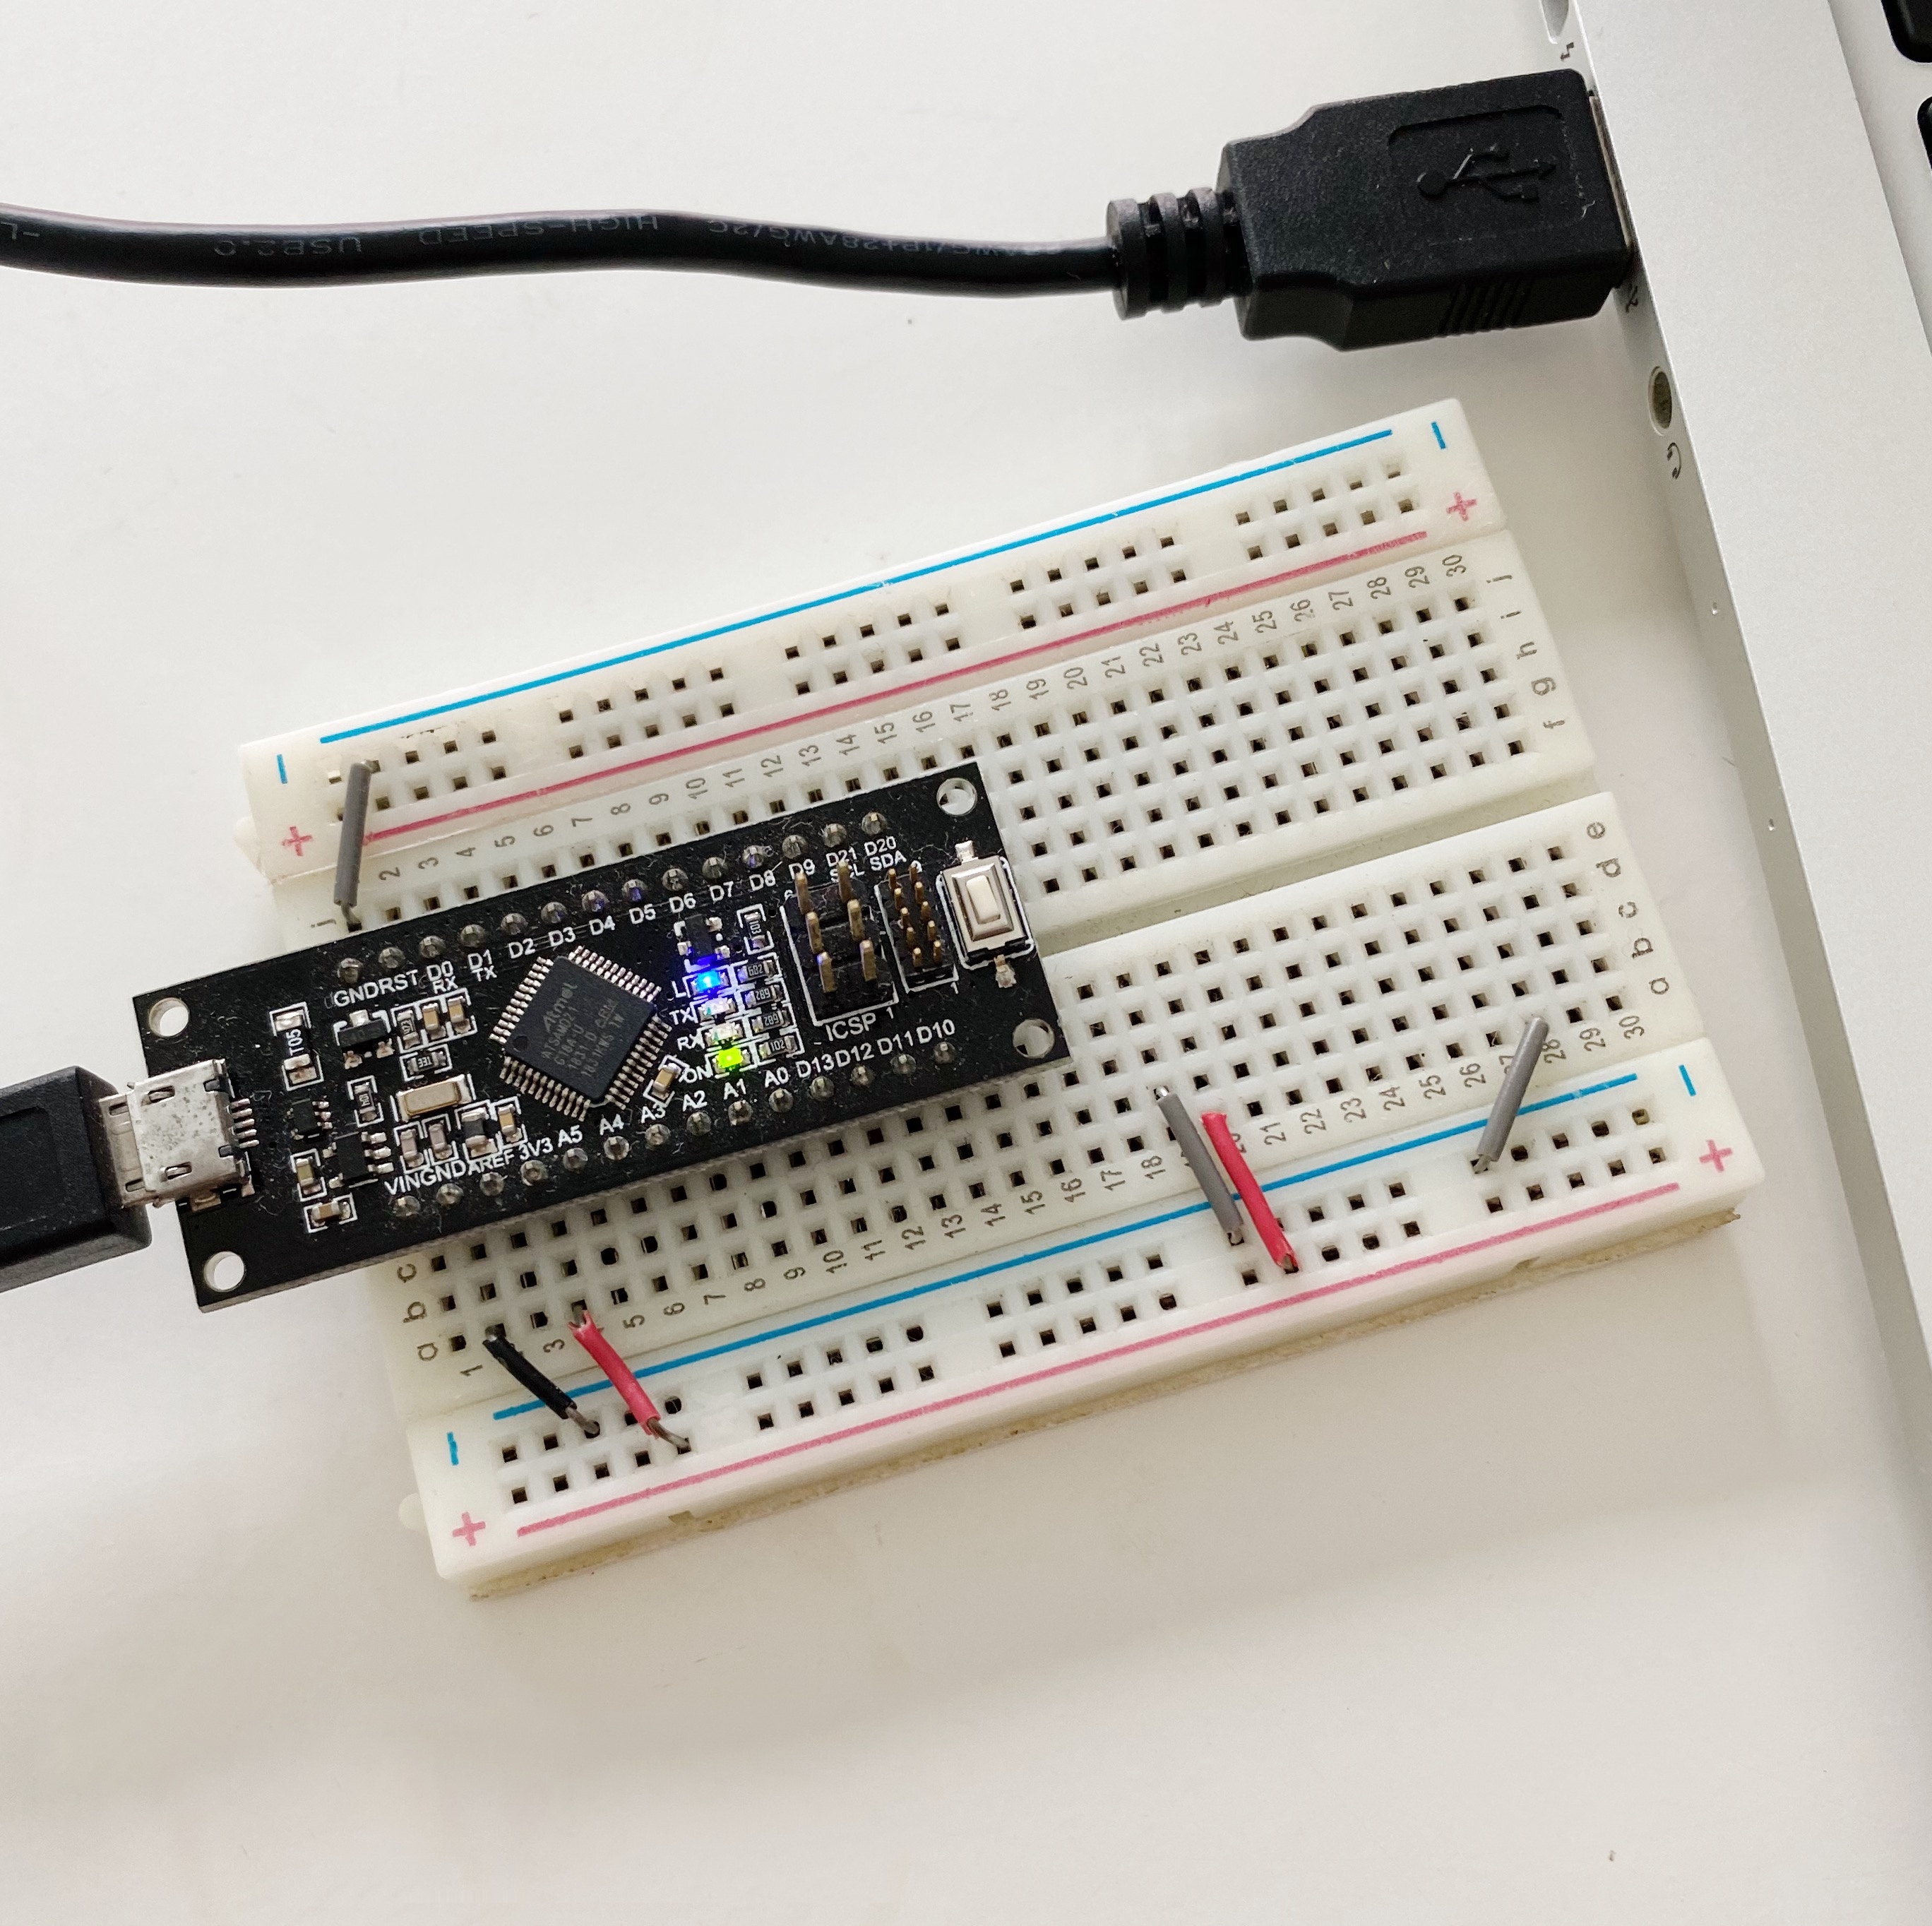
A photo of the actual setup.
Arduino IDE settings
Ensure the following IDE settings before flashing.

Serial console
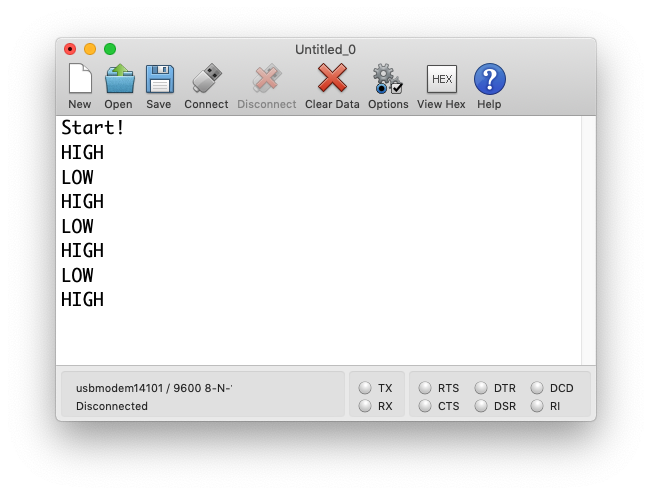
Serial output from the firmware.
Dependancies
Buy the components
blinky-m0.ino
void setup() {
  pinMode(LED_BUILTIN, OUTPUT);

  SerialUSB.begin(9600);
  // Blinky will not start unless serial prints are enabled
  // while (!SerialUSB) { }
  delay(100);

  SerialUSB.println("Start!");
}

void loop() {
  SerialUSB.println("HIGH");
  digitalWrite(LED_BUILTIN, HIGH);
  delay(500);

  SerialUSB.println("LOW");
  digitalWrite(LED_BUILTIN, LOW);
  delay(500);
}BOARD?=arduino:samd:mzero_bl
PORT := $(shell ls /dev/cu.usbmodem*)
.PHONY: default lint all flash clean
default: lint all flash clean
lint:
cpplint --extensions=ino --filter=-legal/copyright *.ino
all:
arduino-cli compile --fqbn $(BOARD) ./
flash:
arduino-cli upload -p $(PORT) --fqbn $(BOARD)
clean:
rm -r buildA photo of the actual setup.
Ensure the following IDE settings before flashing.
Serial output from the firmware.
Create a blinky LED with RobotDyn’s M0-Mini board which is compatible with Arduino firmware.
For serial printing, SerialUSB.println() should be used instead of Serial.println() because SerialUSB uses the Native Port, which is an emulated serial port (USB-CDC).
The following code should be used for initialising the serial so that the print statements can be viewed in the setup():
SerialUSB.begin(9600);
while (!SerialUSB) { }