Prototype
A photo of the actual setup.
Schematic
Wire up the hardware accordingly

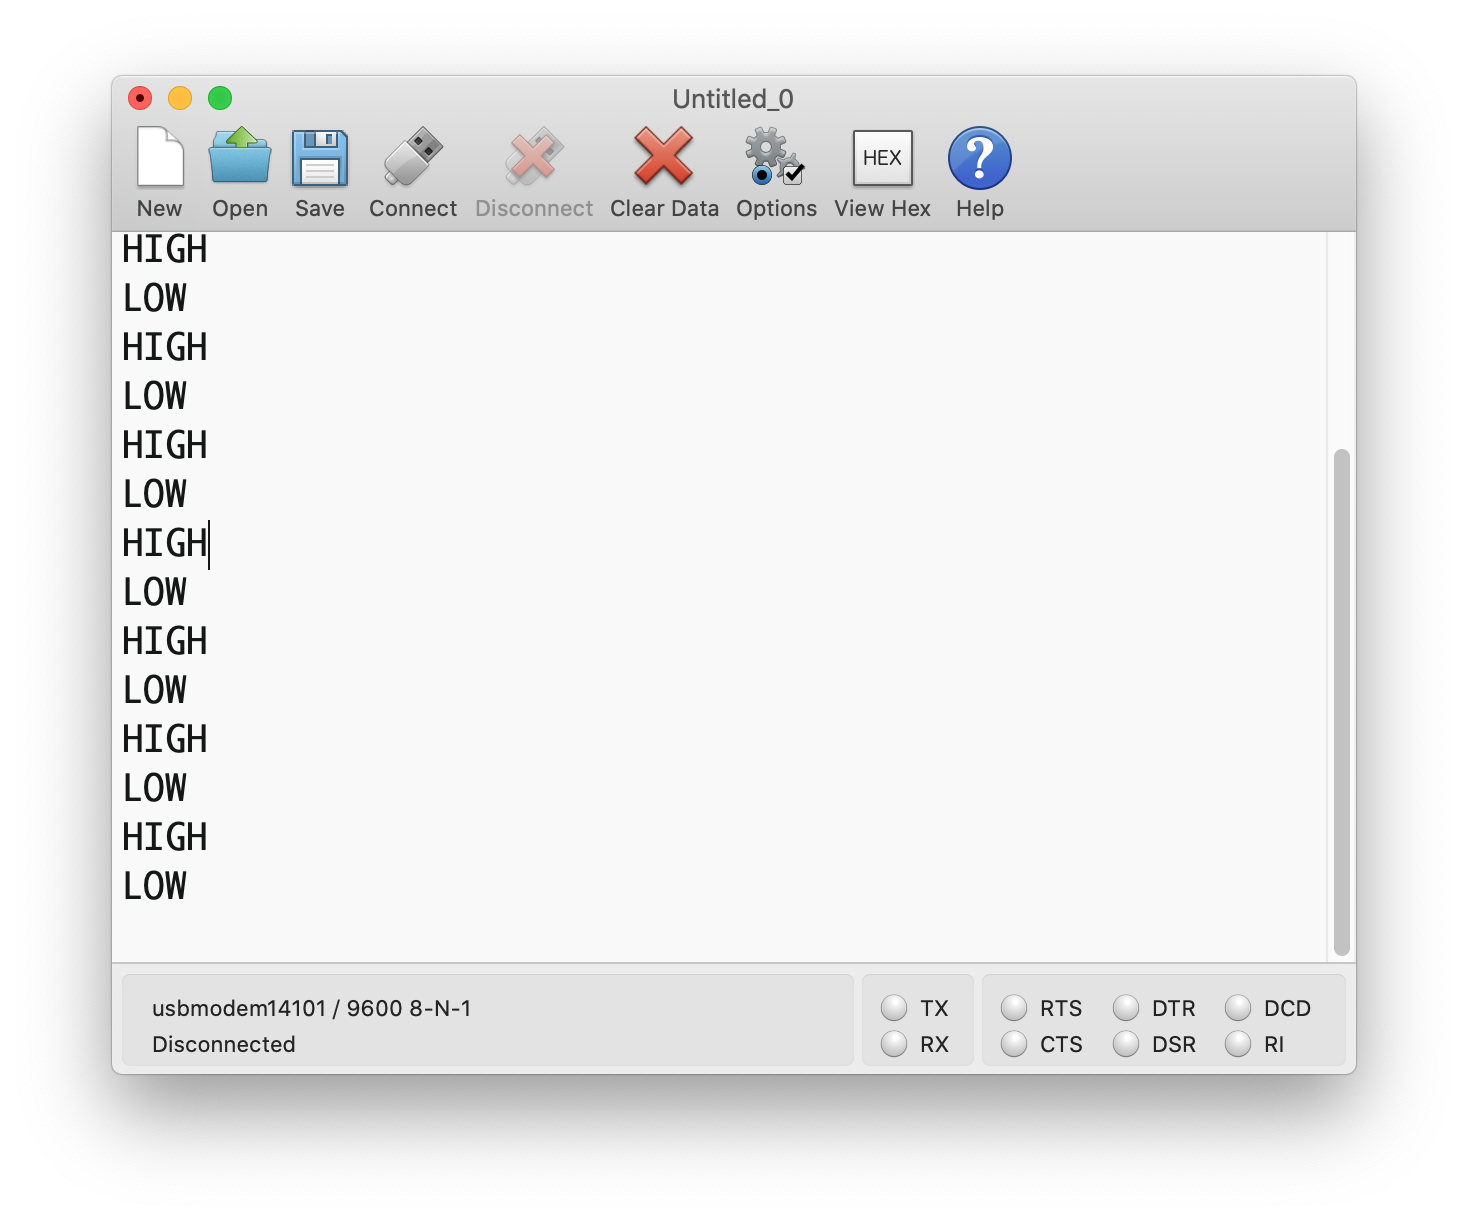
Serial console
Serial output from the firmware.
Dependancies
blinky-arduino.ino
#include <Arduino.h>

void setup() {
  pinMode(LED_BUILTIN, OUTPUT);
  Serial.begin(9600);
}

void loop() {
  Serial.println("HIGH");
  digitalWrite(LED_BUILTIN, HIGH);
  delay(1000);

  Serial.println("LOW");
  digitalWrite(LED_BUILTIN, LOW);
  delay(1000);
}BOARD?=arduino:avr:uno
PORT?=/dev/cu.usbmodem14*
BUILD=build
.PHONY: default lint all flash clean
default: lint all flash clean
lint:
cpplint --extensions=ino --filter=-legal/copyright *.ino
all:
arduino-cli compile --fqbn $(BOARD) --output-dir $(BUILD) ./
flash:
arduino-cli upload --fqbn $(BOARD) --port $(PORT) --input-dir $(BUILD)
clean:
rm -r buildA photo of the actual setup.
Wire up the hardware accordingly
Serial output from the firmware.
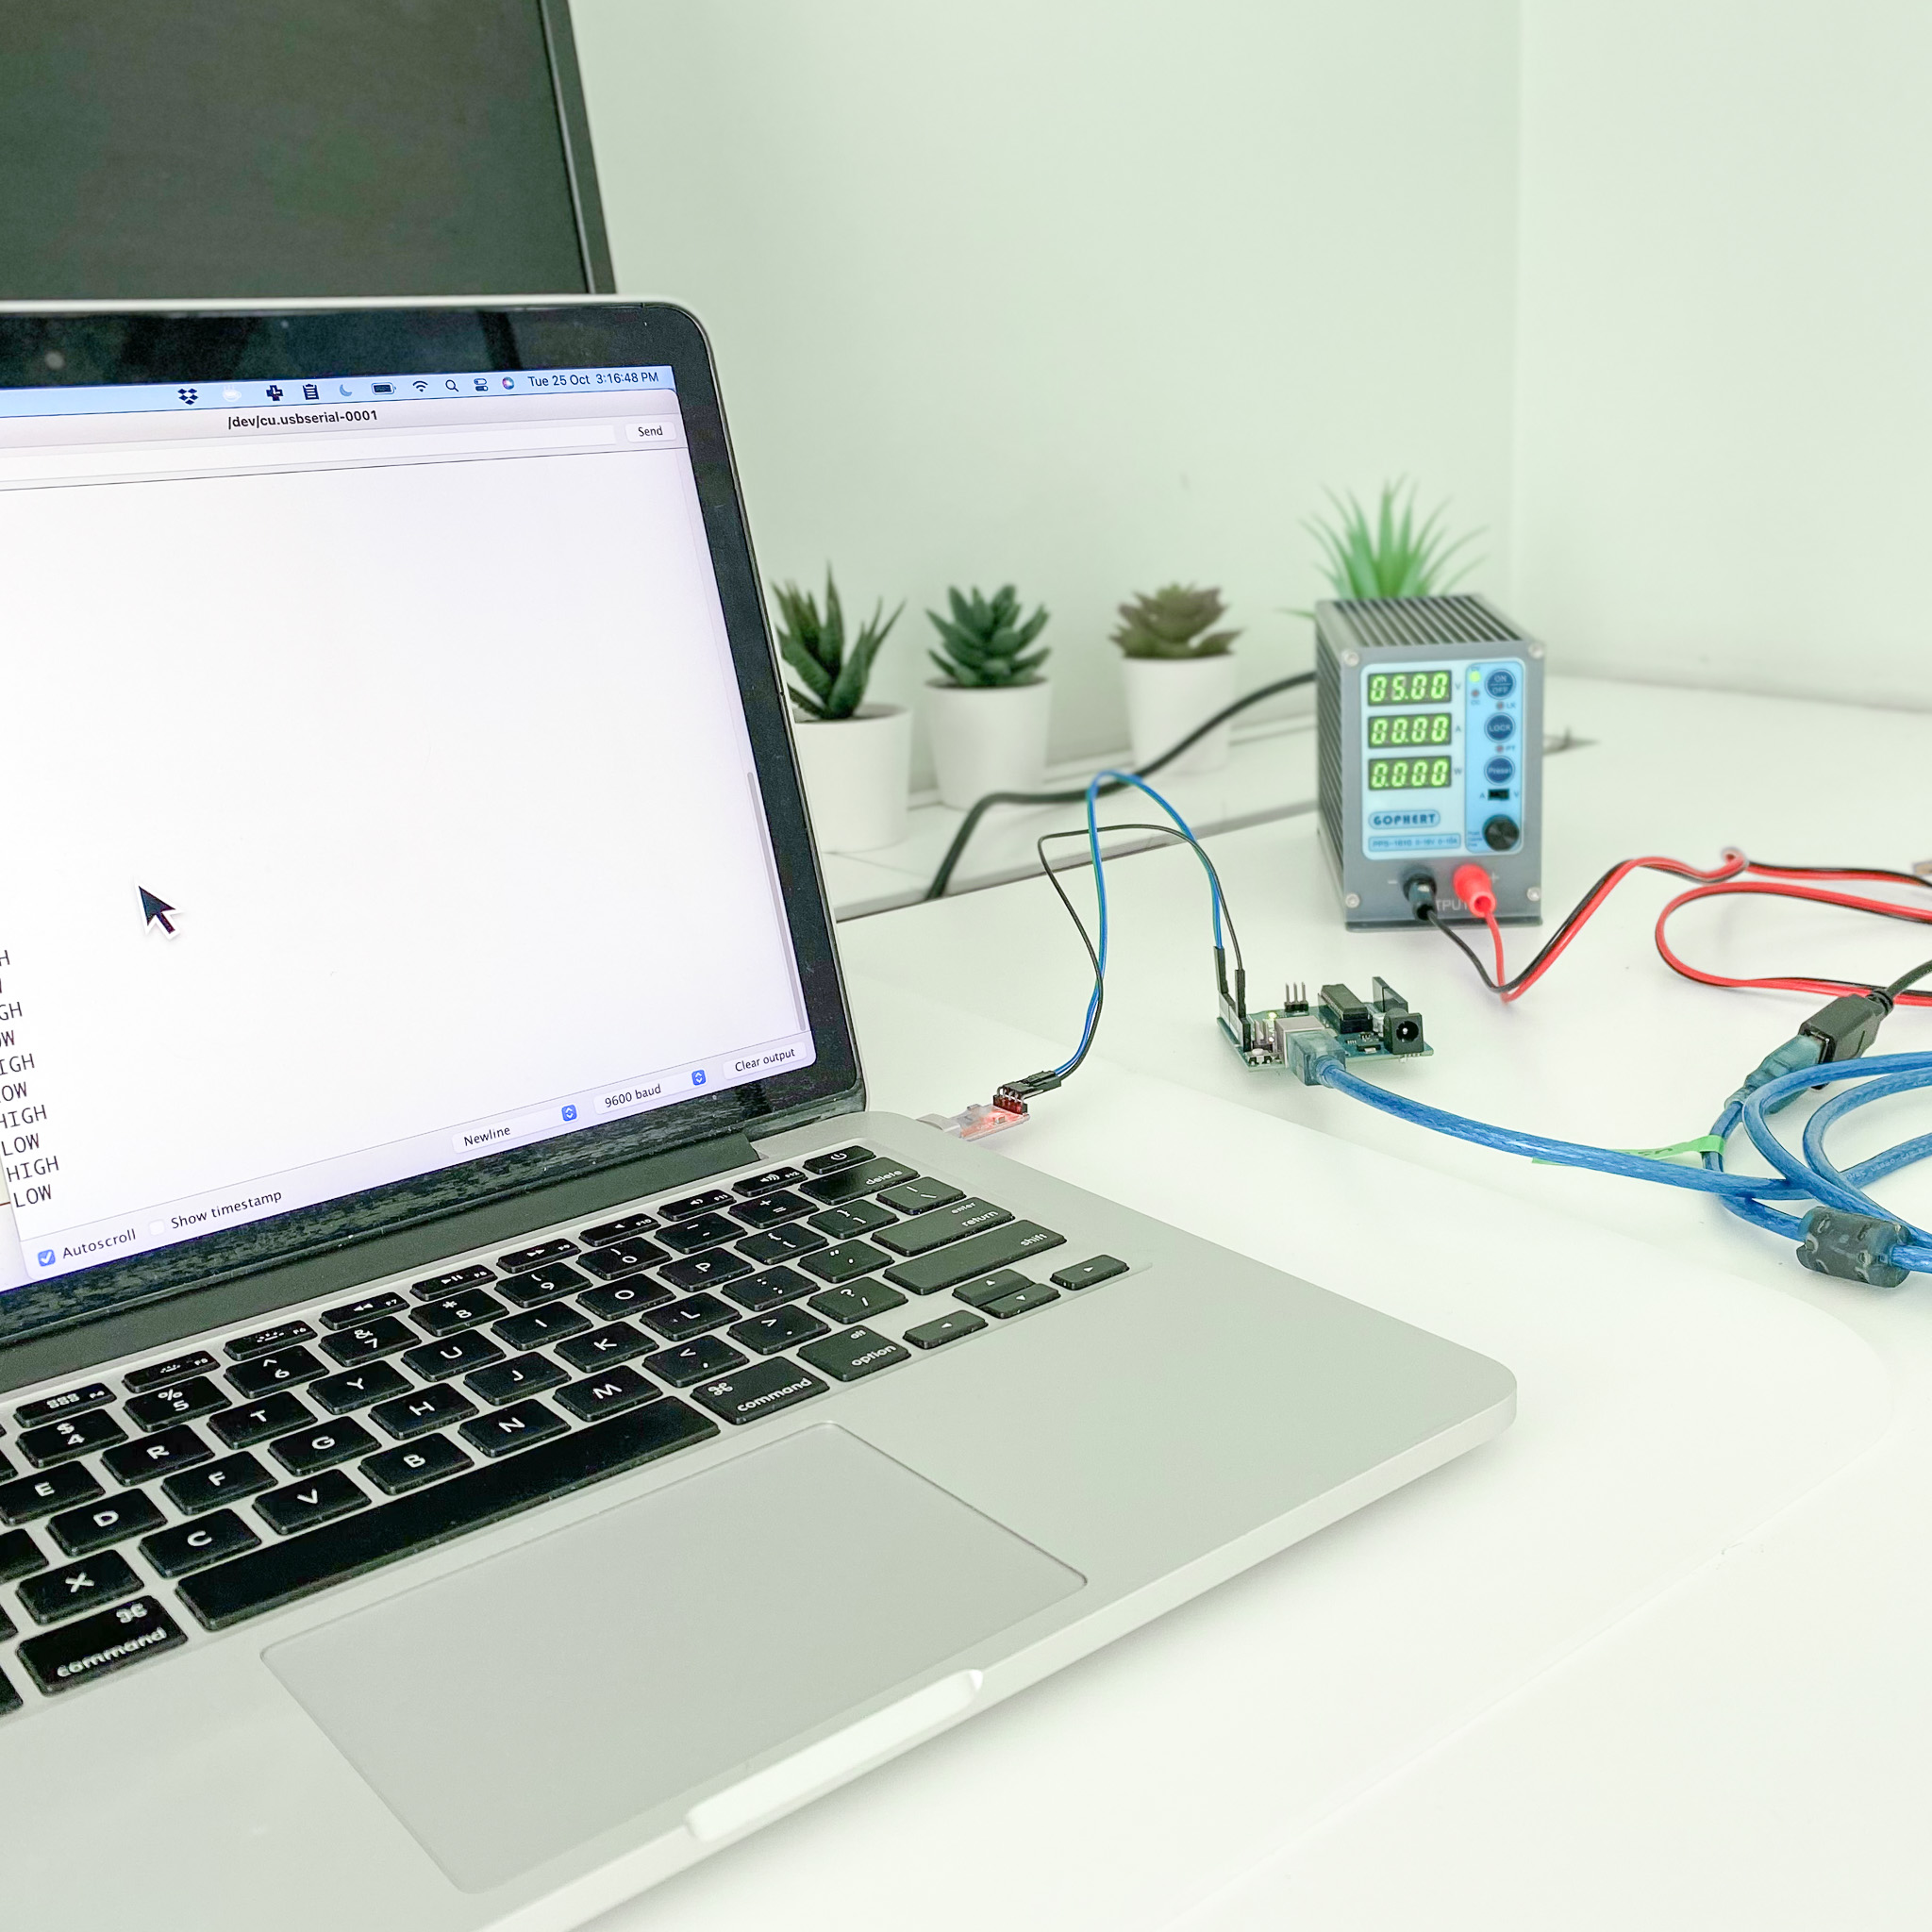
Use an external power supply and a UART-USB bridge to view the serial monitor
Wire up the Arduino UNO to an external power supply unit. Use a UART-USB bridge to the computer to view the serial monitor
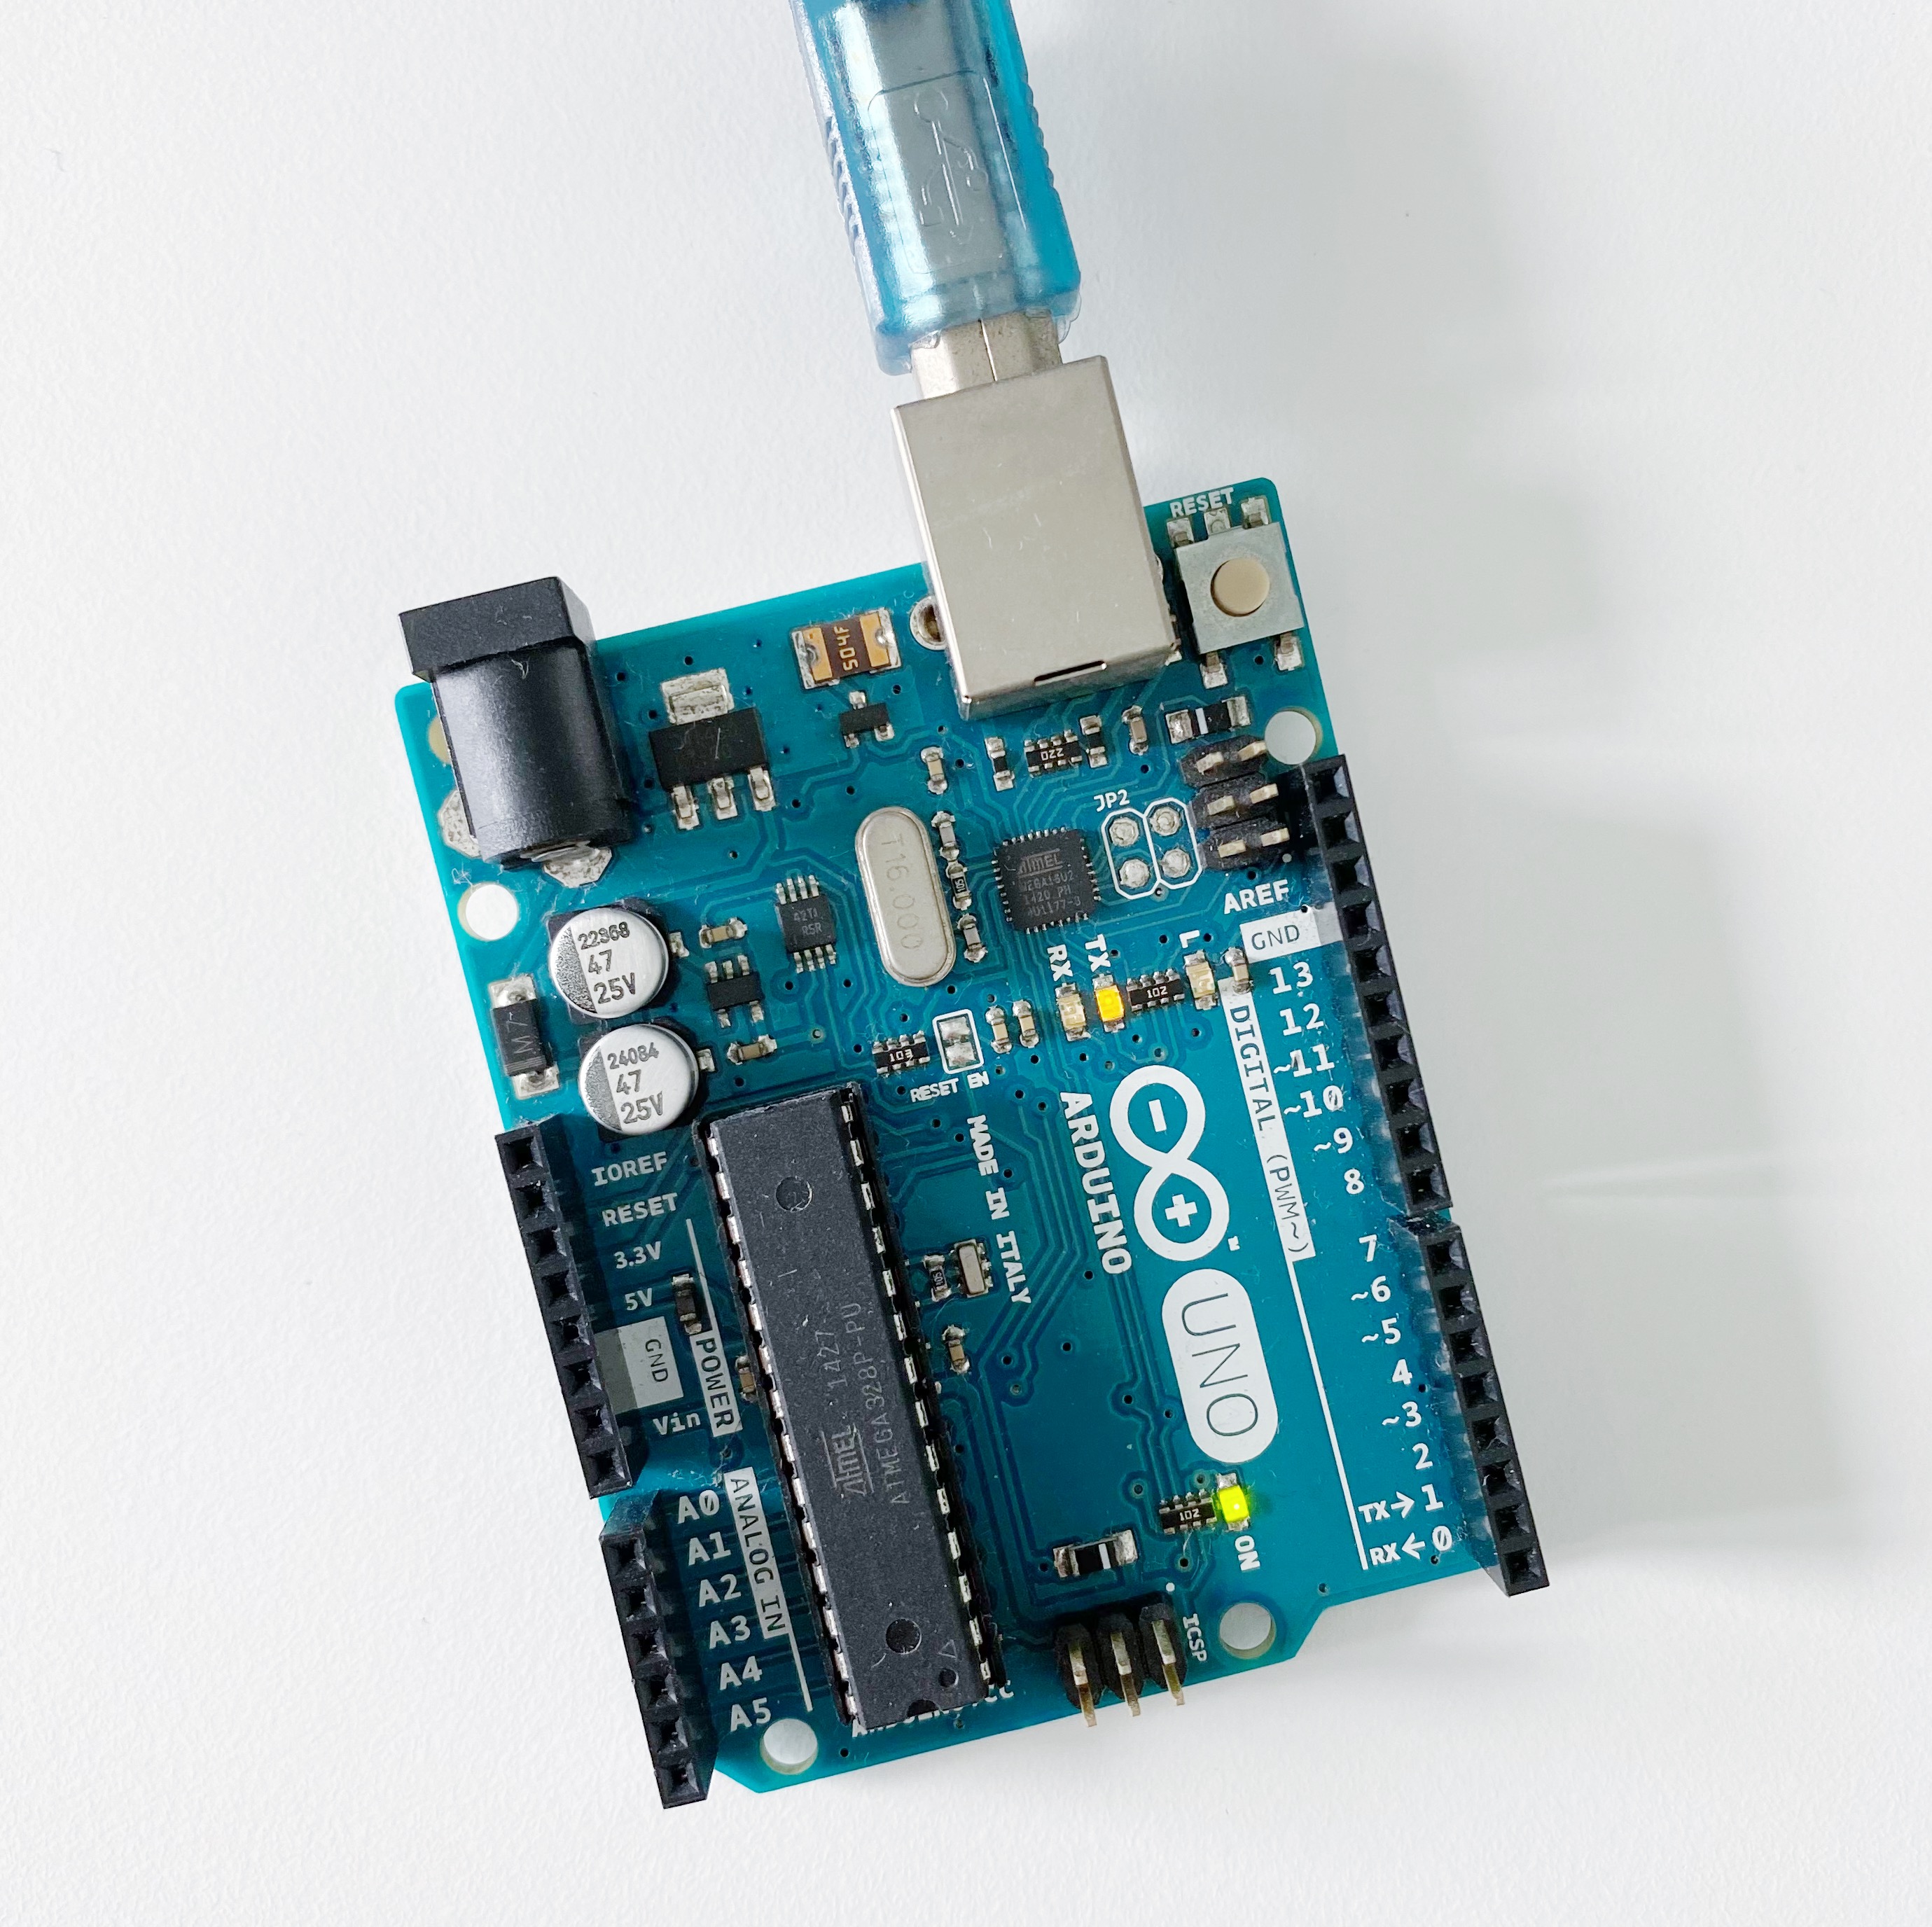
Create a blinky LED with Arduino UNO board with ATmega328p microcontroller. LED is the on-board LED_BUILTIN, GPIO13.
As an alternative, external power supply unit can be used with an UART-USB bridge.
