Prototype
A photo of the actual setup.

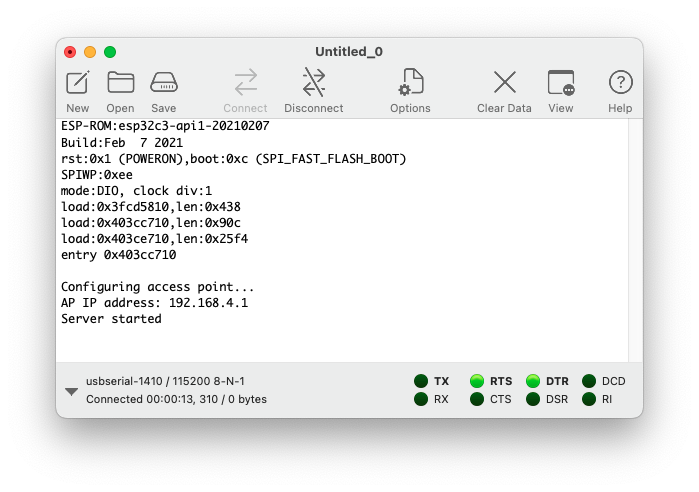
Serial console
Serial output from the firmware.
Dependancies
Pre-requisites
Buy the components
access-point-arduino-esp32c3.ino
// https://raw.githubusercontent.com/espressif/arduino-esp32/990e3d5b431b63b4adc364b045a79afdad645a3f/libraries/WiFi/examples/WiFiAccessPoint/WiFiAccessPoint.ino
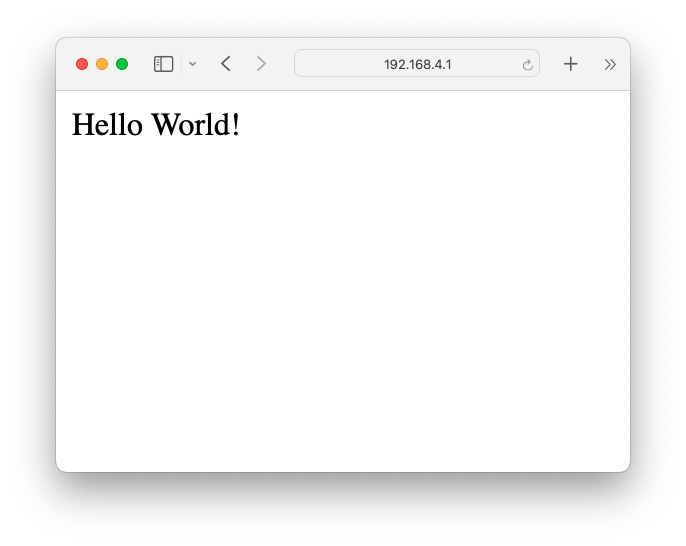
// The code below is an example of how to create an access point using the ESP32-C3. The code creates an access point with the SSID "hello" and password "12345678". The code then starts a server on port 80. When a client connects to the server, the server sends the message "Hello World!" to the client.
#include <WiFi.h>
#include <WiFiClient.h>
#include <WiFiAP.h>
#define LED 3
const char *ssid = "hello";
const char *password = "12345678";
WiFiServer server(80);
void setup() {
Serial.begin(115200);
Serial.println();
Serial.println("Configuring access point...");
pinMode(LED, OUTPUT);
if (!WiFi.softAP(ssid, password)) {
Serial.println("Soft AP creation failed.");
while (1) {}
}
IPAddress myIP = WiFi.softAPIP();
Serial.print("AP IP address: ");
Serial.println(myIP);
server.begin();
Serial.println("Server started");
}
void handleClient(WiFiClient client) {
Serial.println("New Client.");
String currentLine = "";
while (client.connected()) {
if (client.available()) {
digitalWrite(LED, HIGH);
client.println("HTTP/1.1 200 OK");
client.println("Content-type:text/html");
client.println();
client.print("Hello World!");
client.println();
break;
}
}
client.stop();
Serial.println("Client Disconnected.");
digitalWrite(LED, LOW);
}
void loop() {
WiFiClient client = server.accept();
if (client) {
handleClient(client);
}
}BOARD?=esp32:esp32:esp32c3
PORT?=/dev/cu.SLAB_USBtoUART*
BUILD=build
.PHONY: default lint all flash clean
default: lint all flash clean
lint:
cpplint --extensions=ino --filter=-legal/copyright *.ino
all:
arduino-cli compile --fqbn $(BOARD) --output-dir $(BUILD) ./
flash:
arduino-cli upload --fqbn $(BOARD) --port $(PORT) --input-dir $(BUILD)
clean:
rm -r buildA photo of the actual setup.
Serial output from the firmware.
The code below is an example of how to create an access point using the ESP32-C3. The code creates an access point with the SSID hello and password 12345678. The code then starts a server on port 80. When a client connects to the server, the server sends the message “Hello World!” to the client.
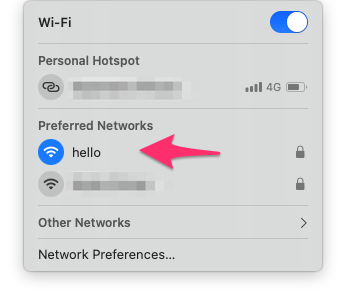
make or Arduino IDEhello with password 12345678
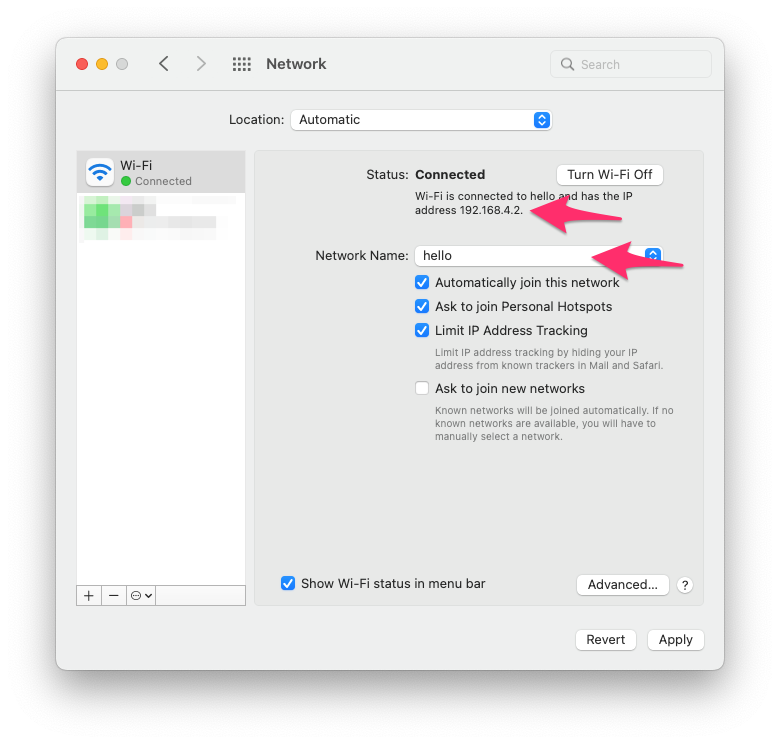
http://192.168.4.1 on the browserhello world on the webpage